Page 2 of 4
Re: SYM DD50 Build...
Posted: Mon Jul 18, 2011 2:21 am
by bakaracer
donaudi wrote:How do you do the calculations? I thought it was B/A X D/C= Ratio. So for 15x42 would be 42/15=2.8 47/12=3.916 so 2.8 X 3.916= 10.9 to 1 NO???? Please help me figure this out.
its the front 2 gears so 34/12=2.833 and the after market rear gears 42/15=2.8 then multiply the 2 together so 2.8x2.83=7.93. if your putting aftermarket primary(front gears) then it would be the the stock rear gears times the aftermarket front gears
Re: SYM DD50 Build...
Posted: Fri Jul 22, 2011 1:32 am
by donaudi
Re: SYM DD50 Build...
Posted: Fri Jul 22, 2011 1:40 am
by bakaracer
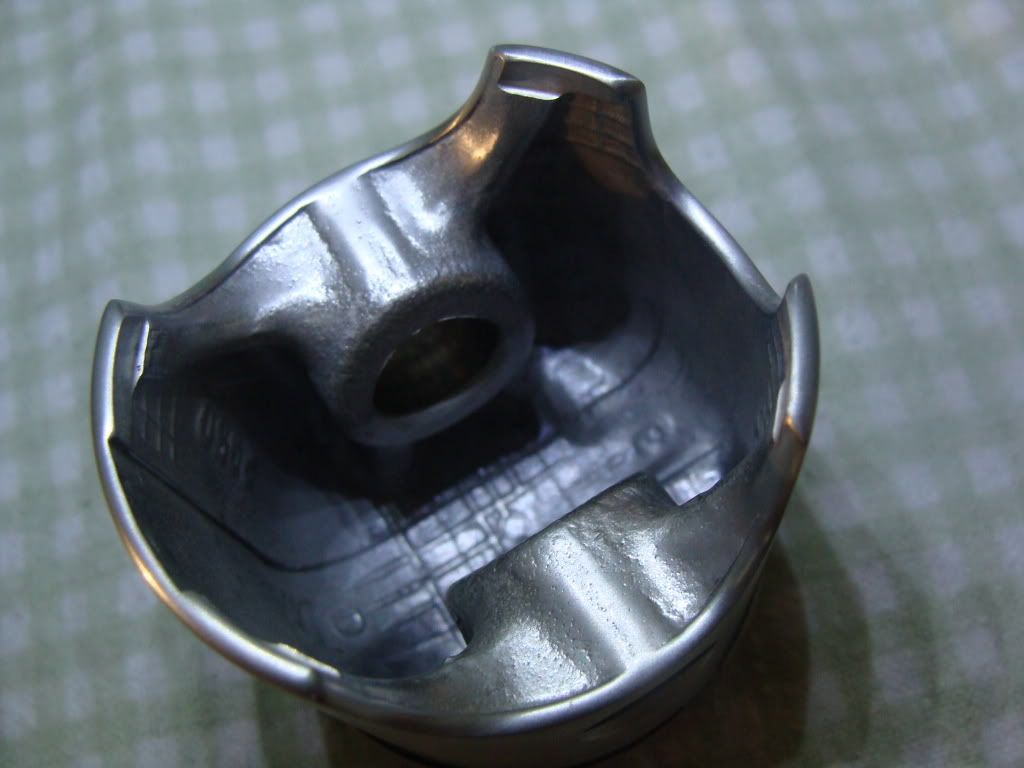
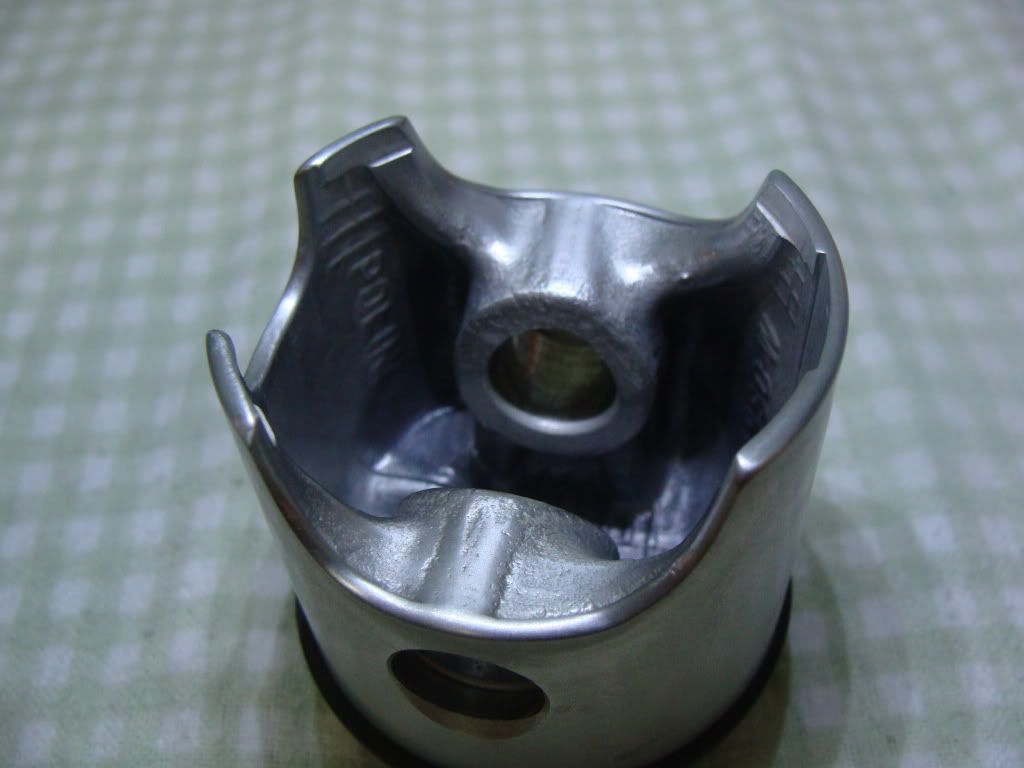
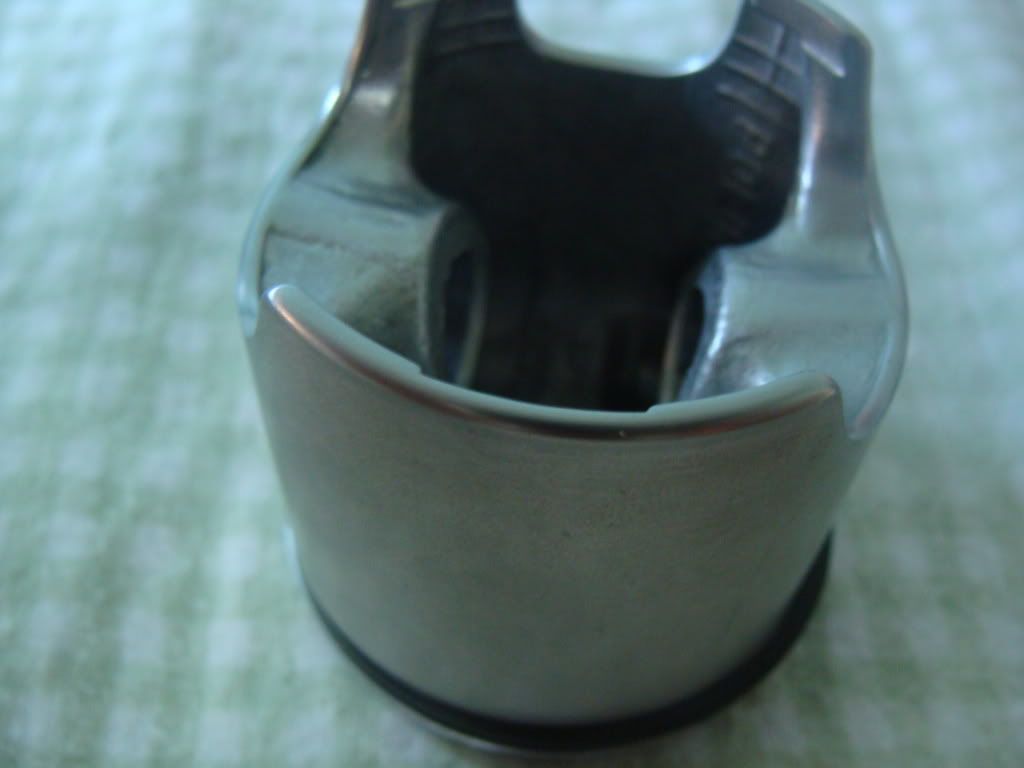
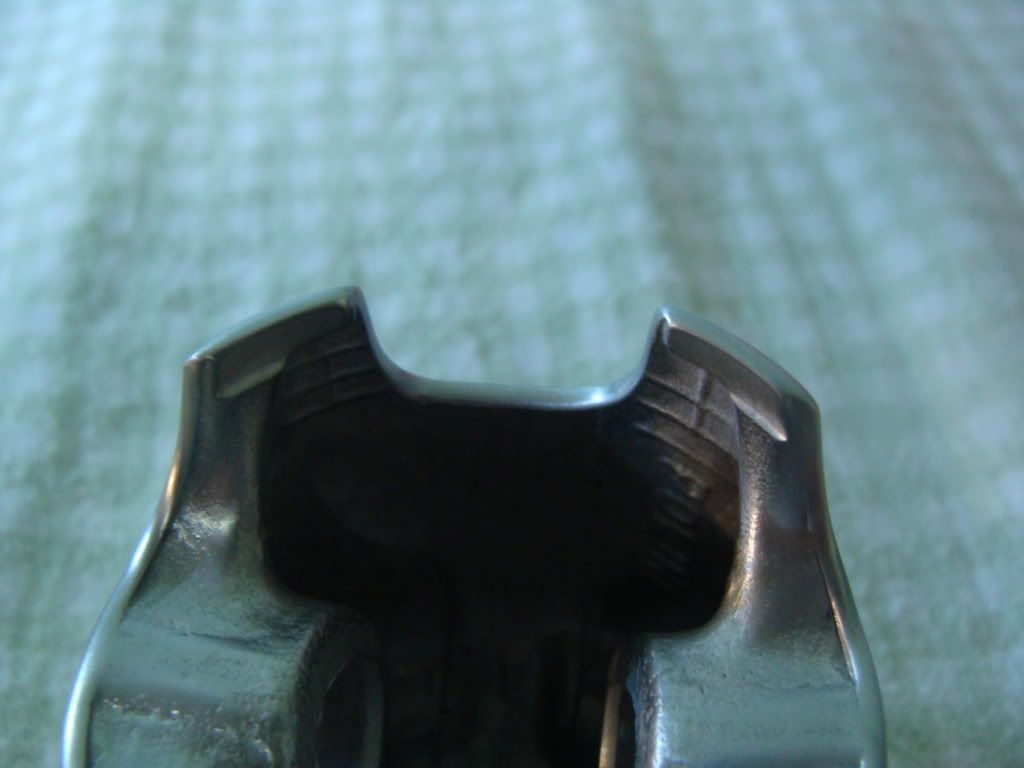
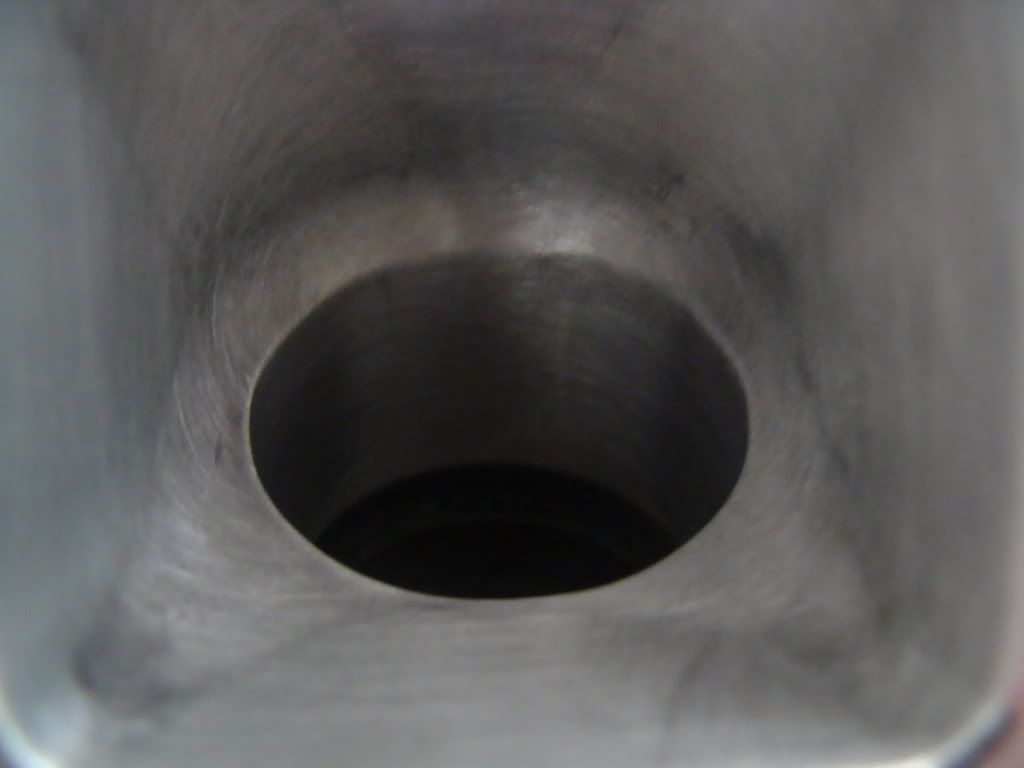
yup!! thats what you do to the piston bottom.

you dont want the piston to act like a squeegee in the cylinder wall. dont forget to polish the top of the piston too.
Re: SYM DD50 Build...
Posted: Fri Jul 22, 2011 1:47 am
by donaudi
Re: SYM DD50 Build...
Posted: Fri Jul 22, 2011 1:50 am
by donaudi
BAKA, your comments and suggestions are always appreciated and welcome. About polishing the top of the position.... I was contemplating doing that, but I was concerned about removing the "graphite" coating. What would you think would be better? A polished piston top or leave that graphite coating??
Re: SYM DD50 Build...
Posted: Fri Jul 22, 2011 1:53 am
by donaudi
Re: SYM DD50 Build...
Posted: Fri Jul 22, 2011 2:16 am
by donaudi
Re: SYM DD50 Build...
Posted: Fri Jul 22, 2011 2:22 am
by donaudi
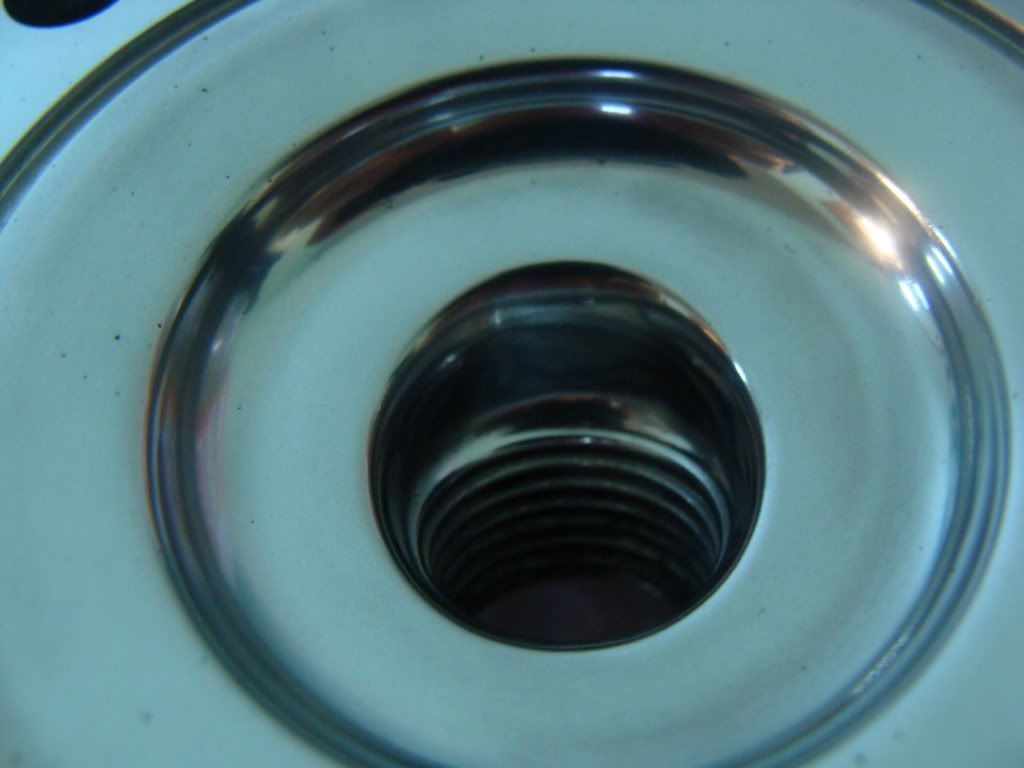
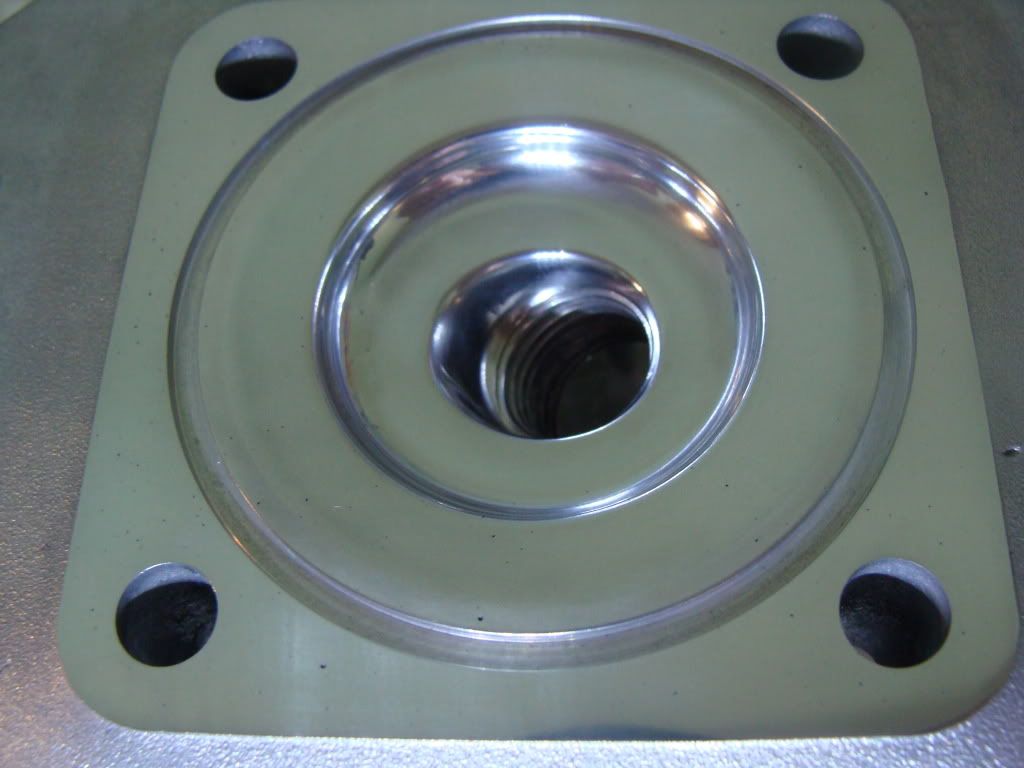
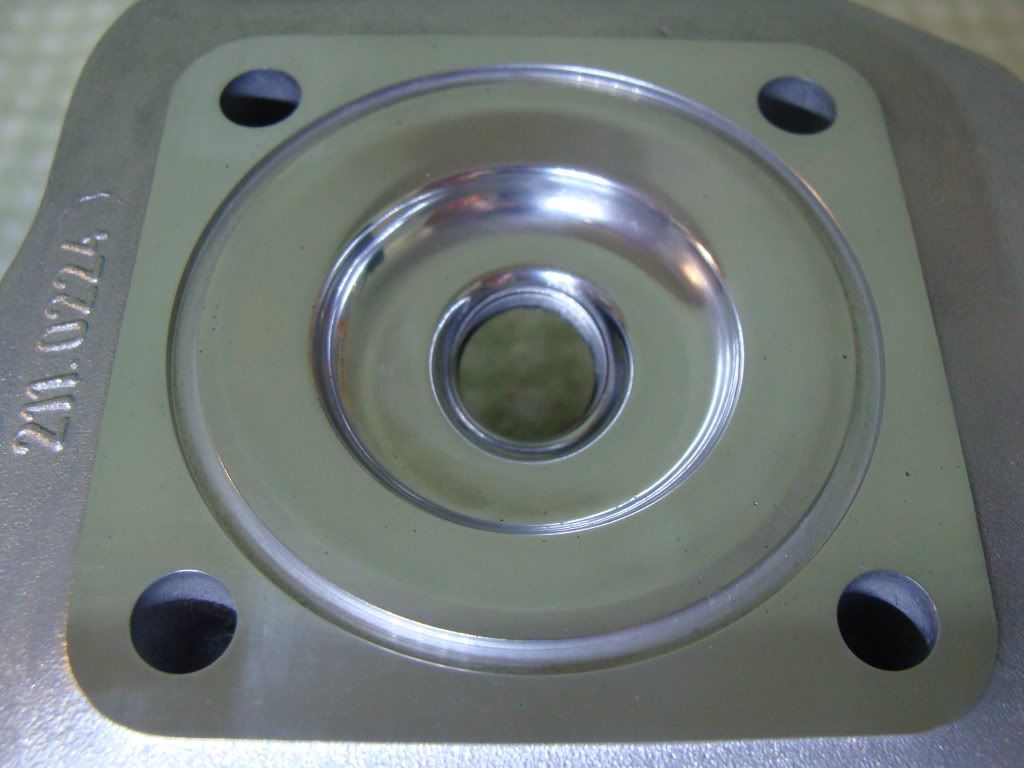
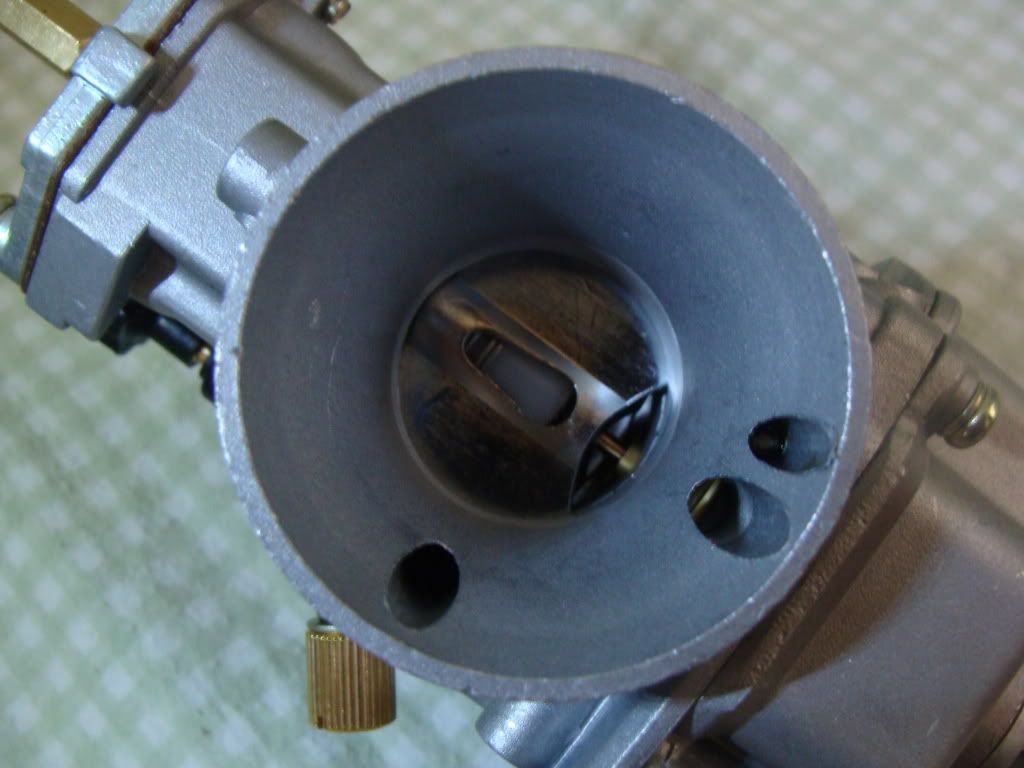
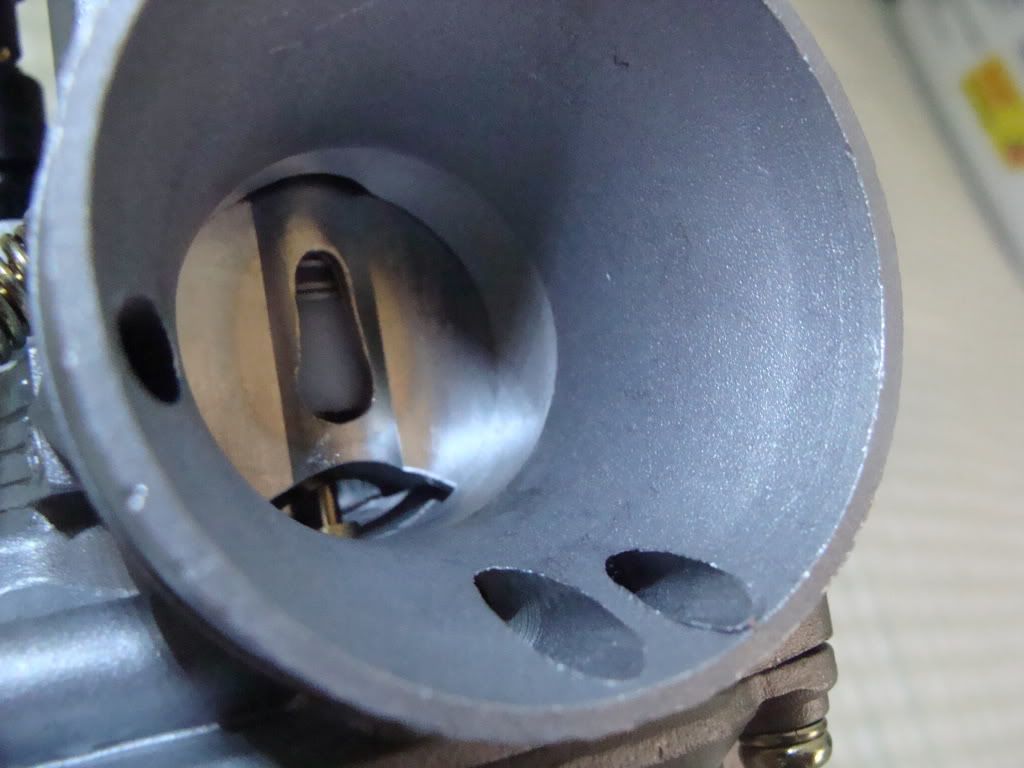
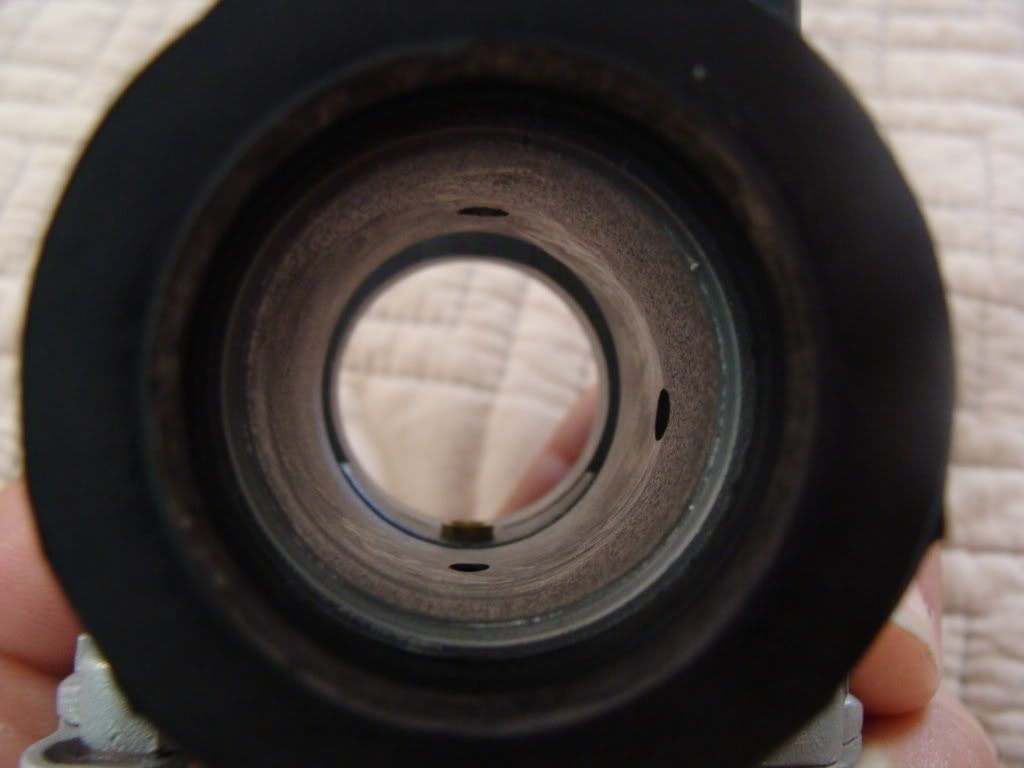
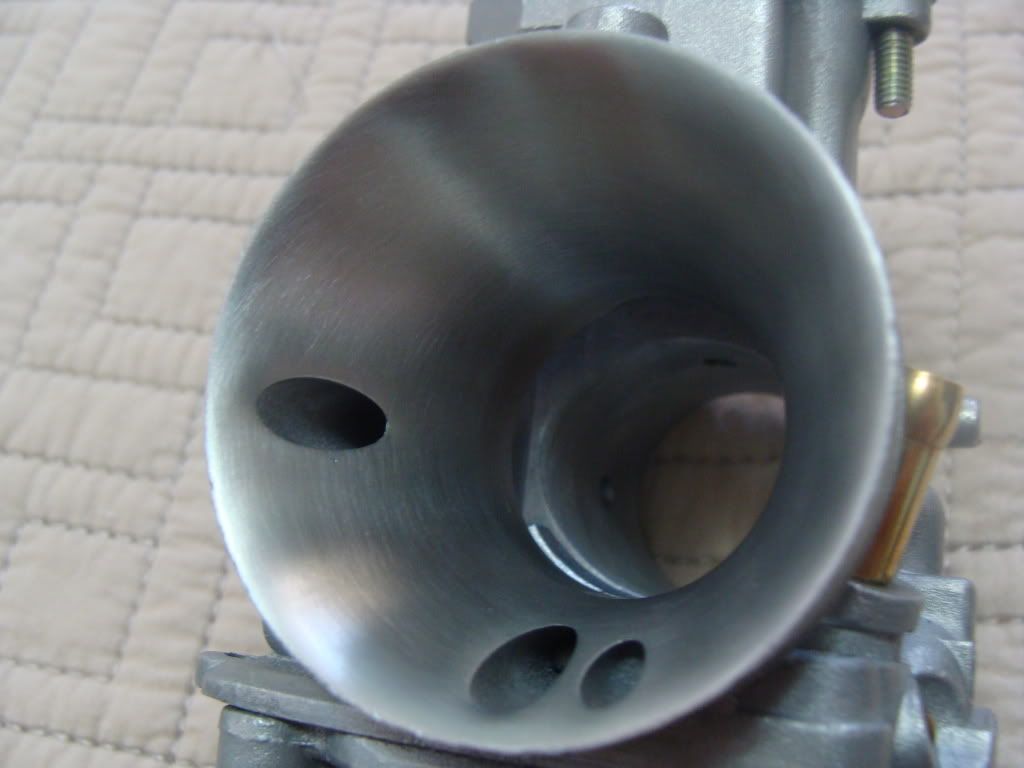
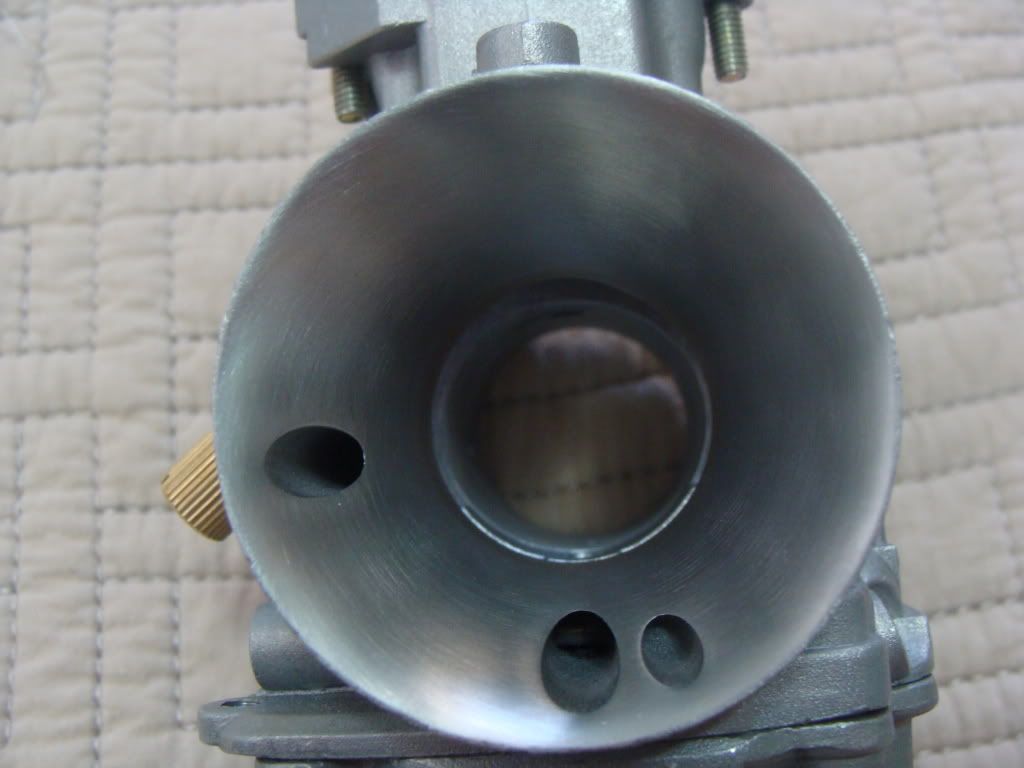
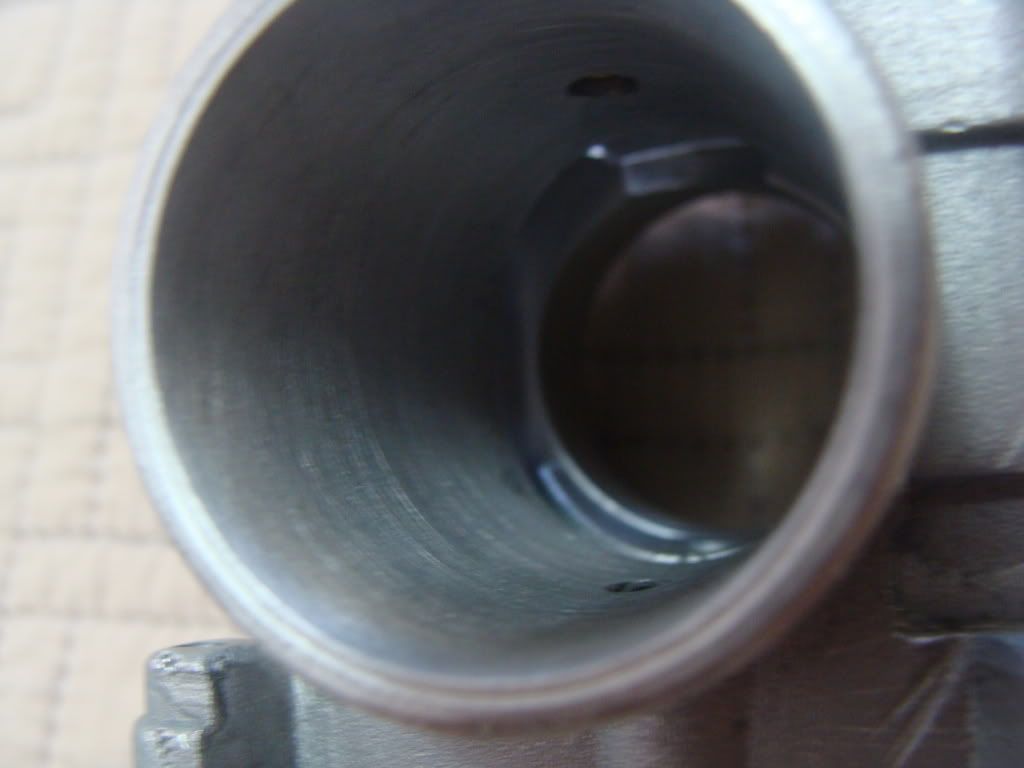
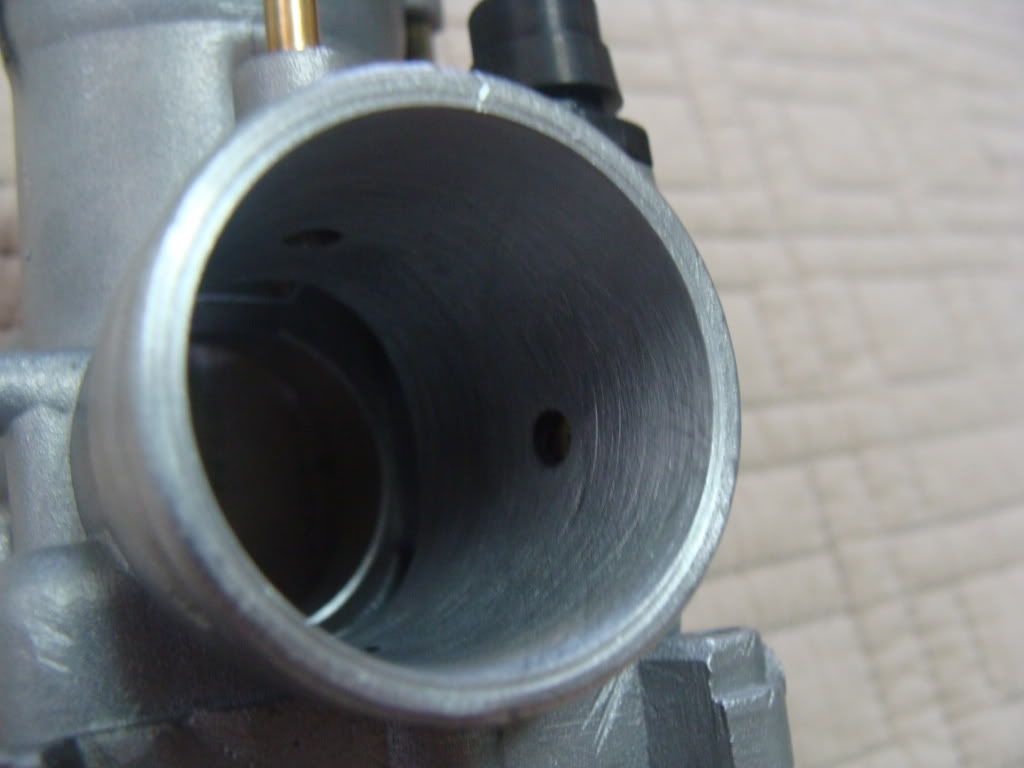
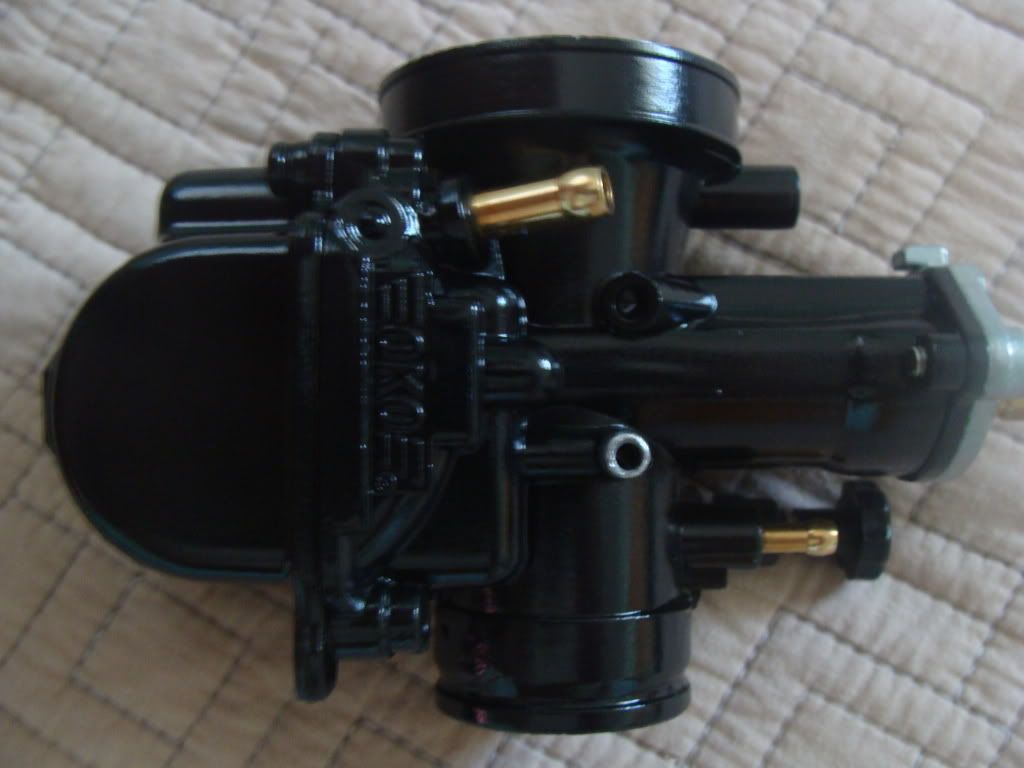
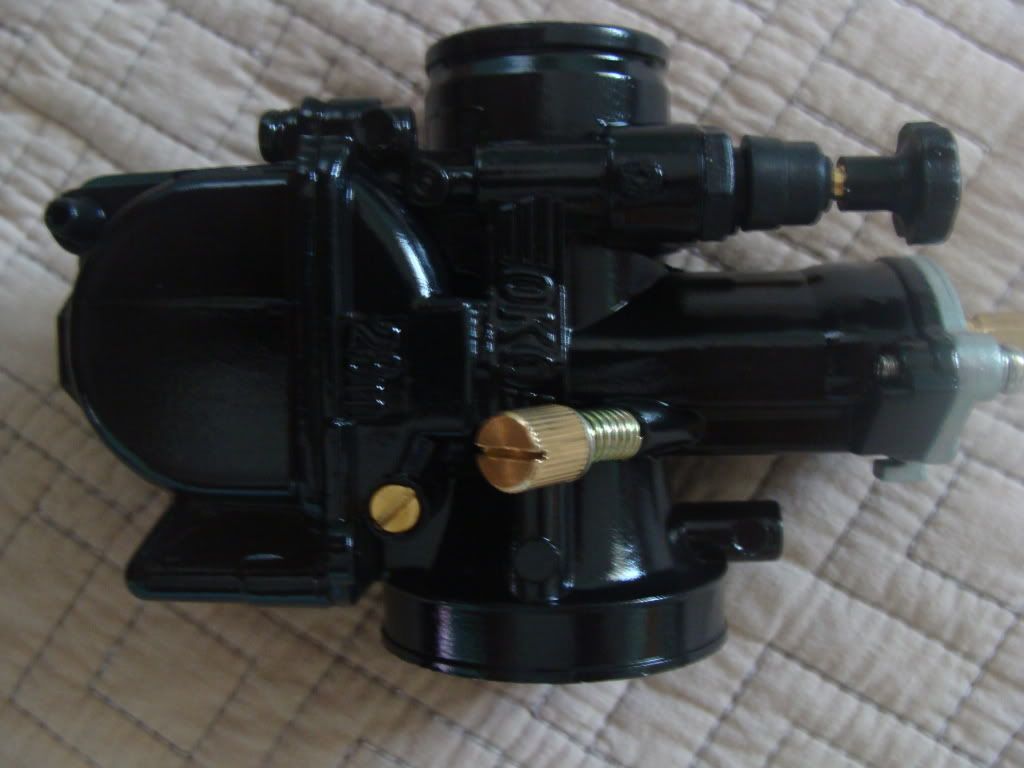
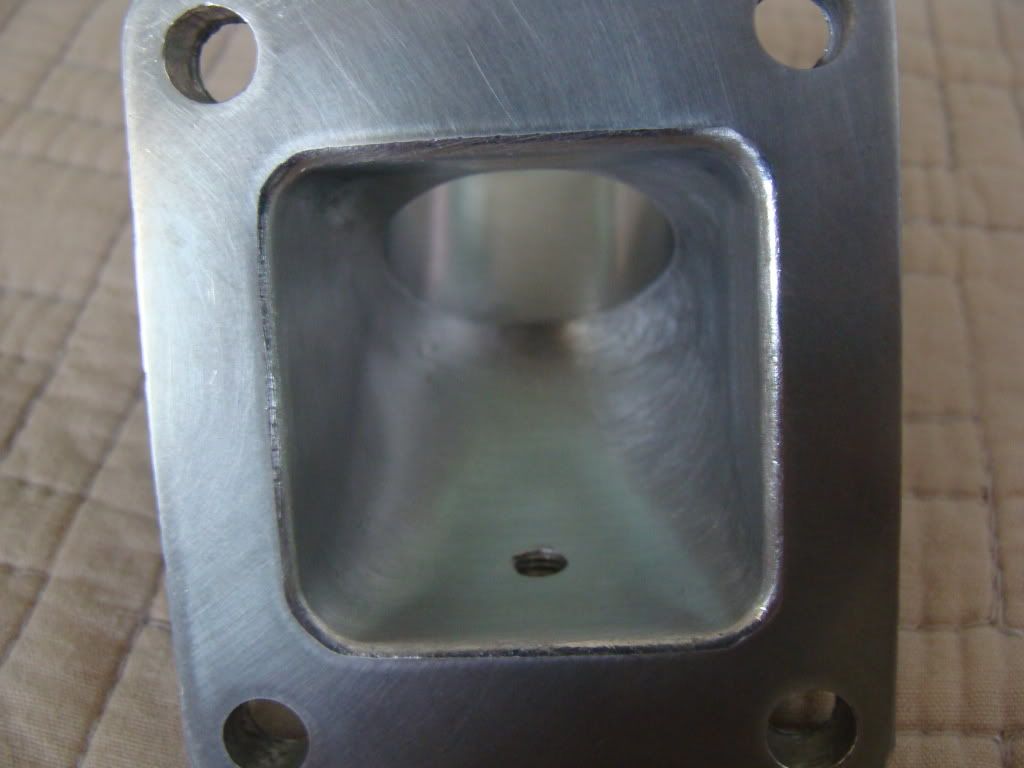
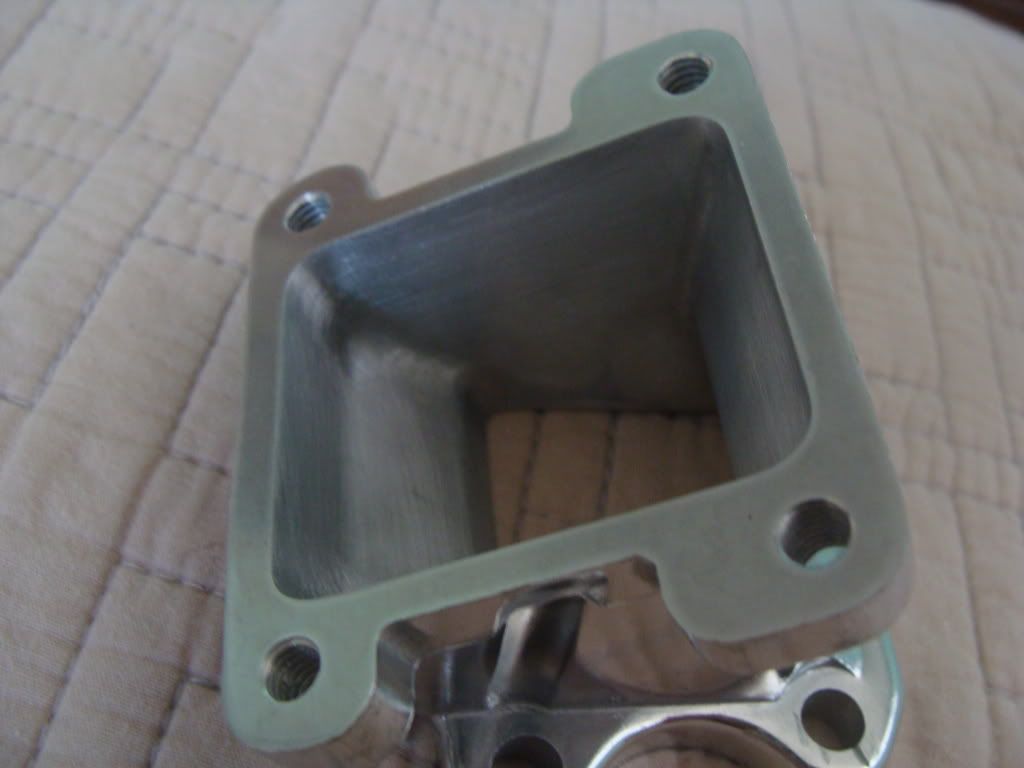
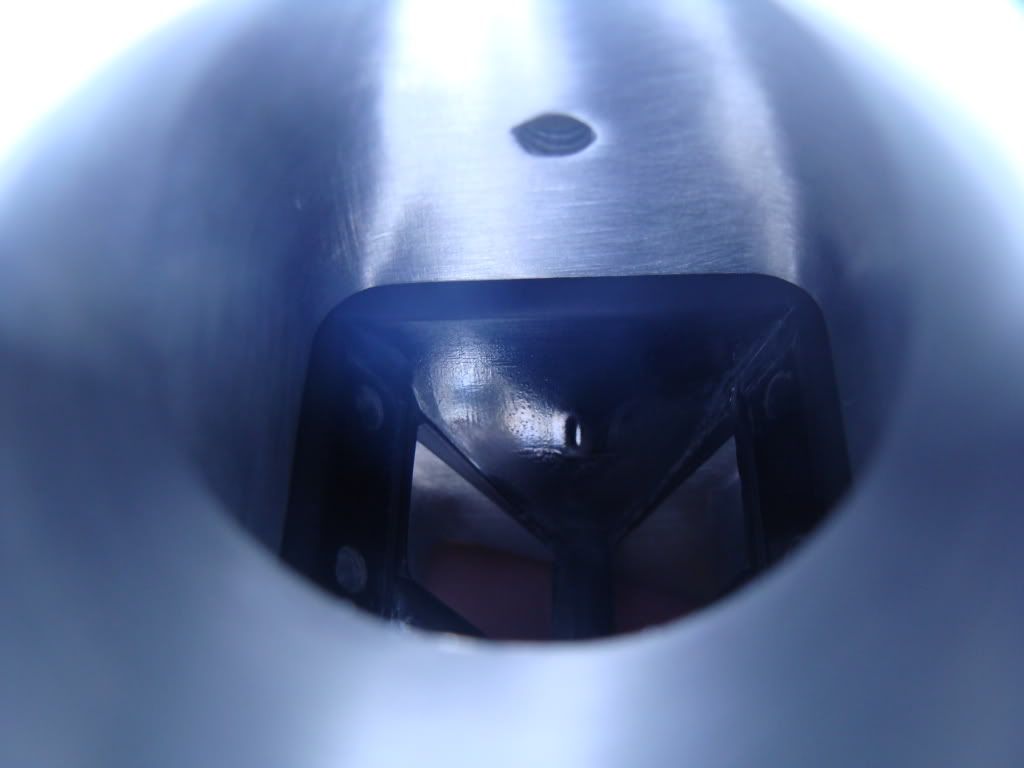
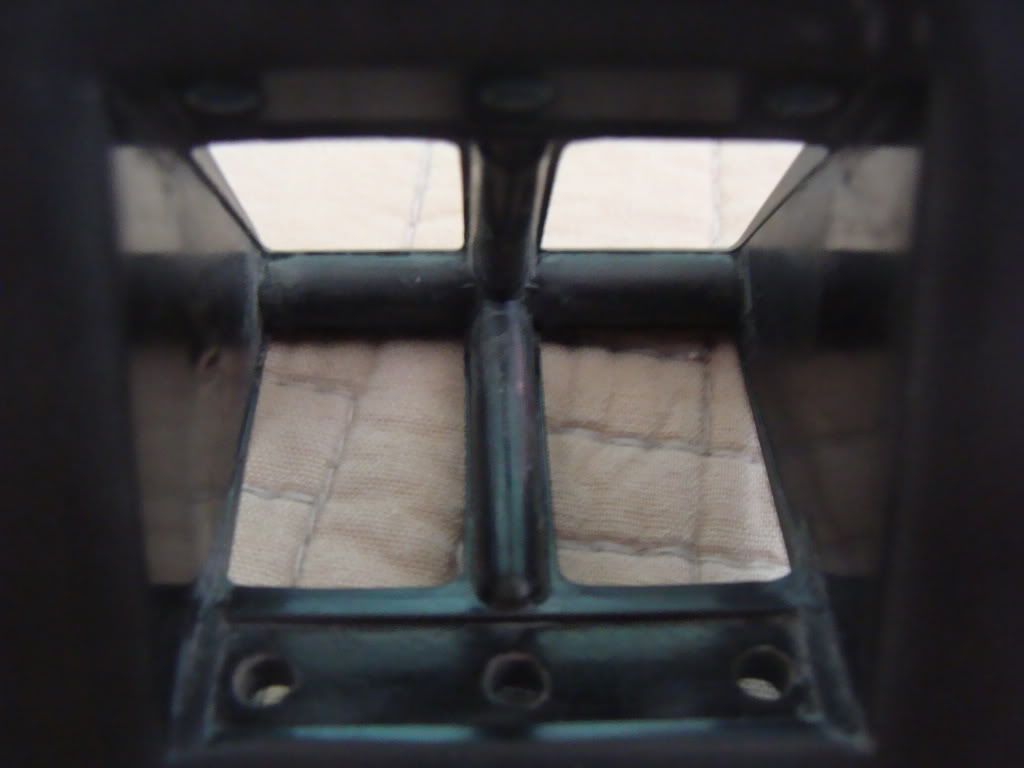
Two questions....
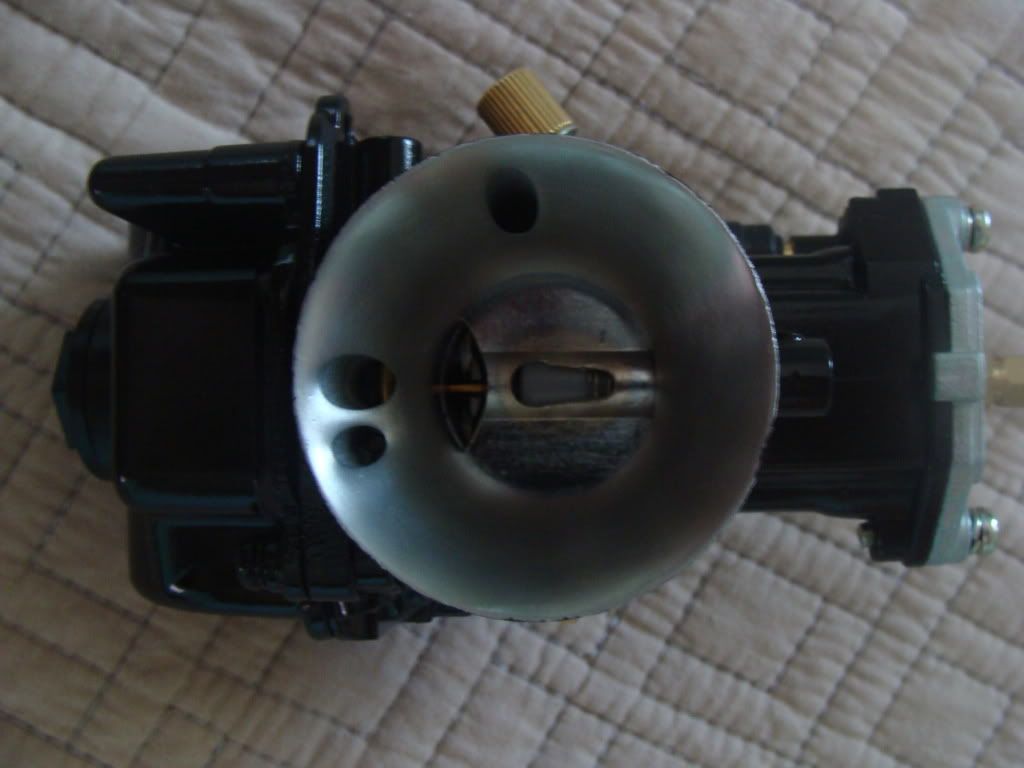
1. I was contemplating painting the intake manifold black like the carb. What do you guys think? Too much black? Still on the fence.
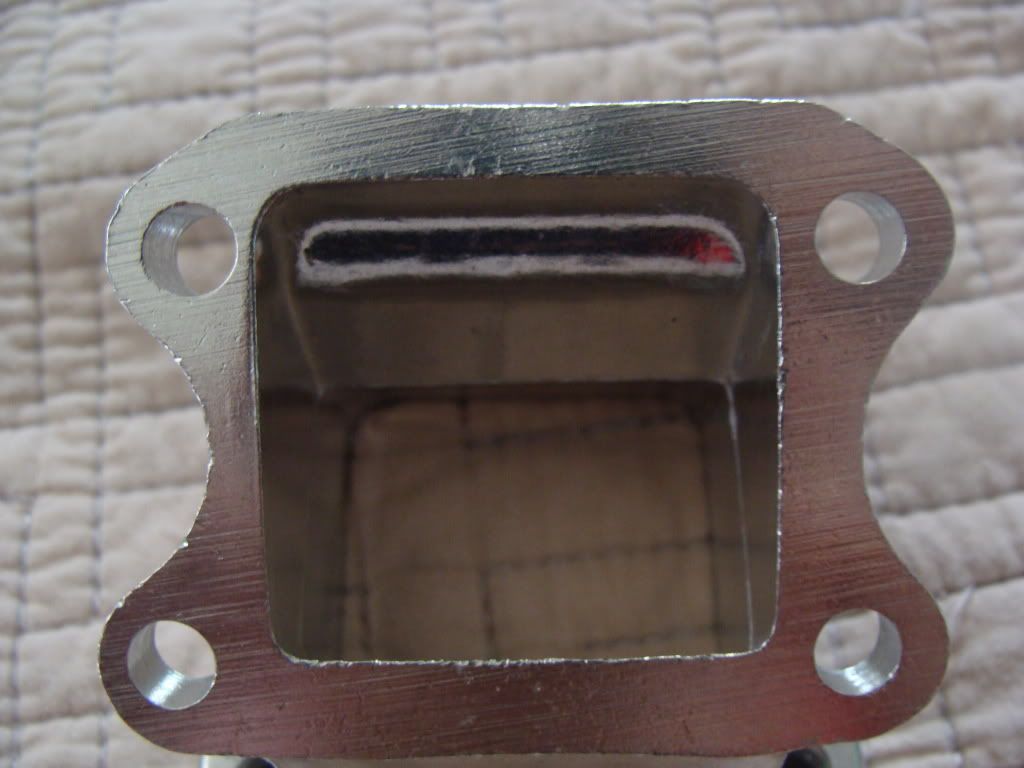
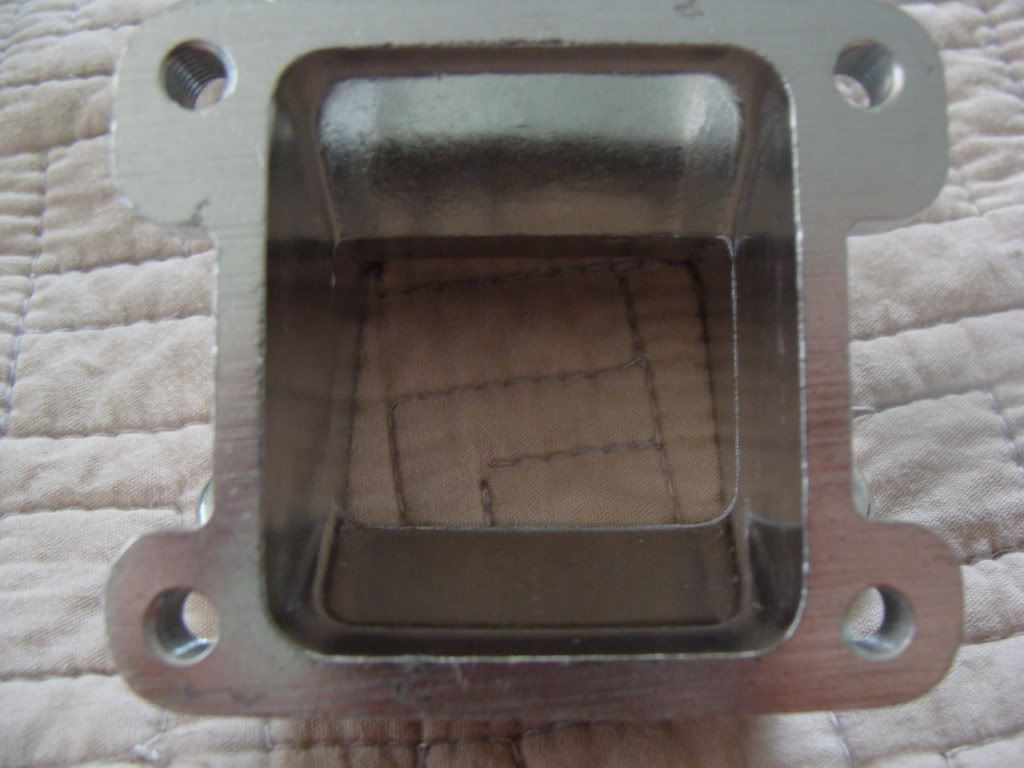
2. Here is a pic of the reed block. I have read you need at least two millimeters to have a good seal for the reeds. I was thinking of opening up the reed holes, but do you guys think that would leave too little material for the reed to properly seal?
Re: SYM DD50 Build...
Posted: Fri Jul 22, 2011 1:54 pm
by evilone
donaudi wrote:What do you guys think??? Is it * material now???
Yes, now i feel like making some * of my own

Re: SYM DD50 Build...
Posted: Fri Jul 22, 2011 2:02 pm
by donaudi
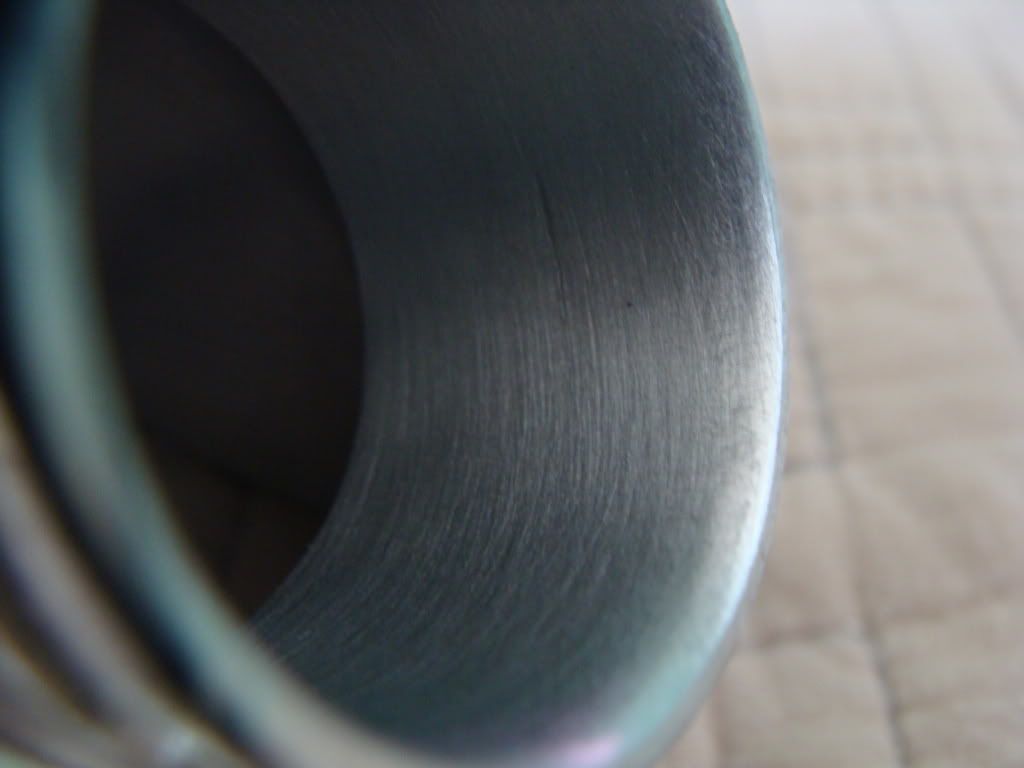
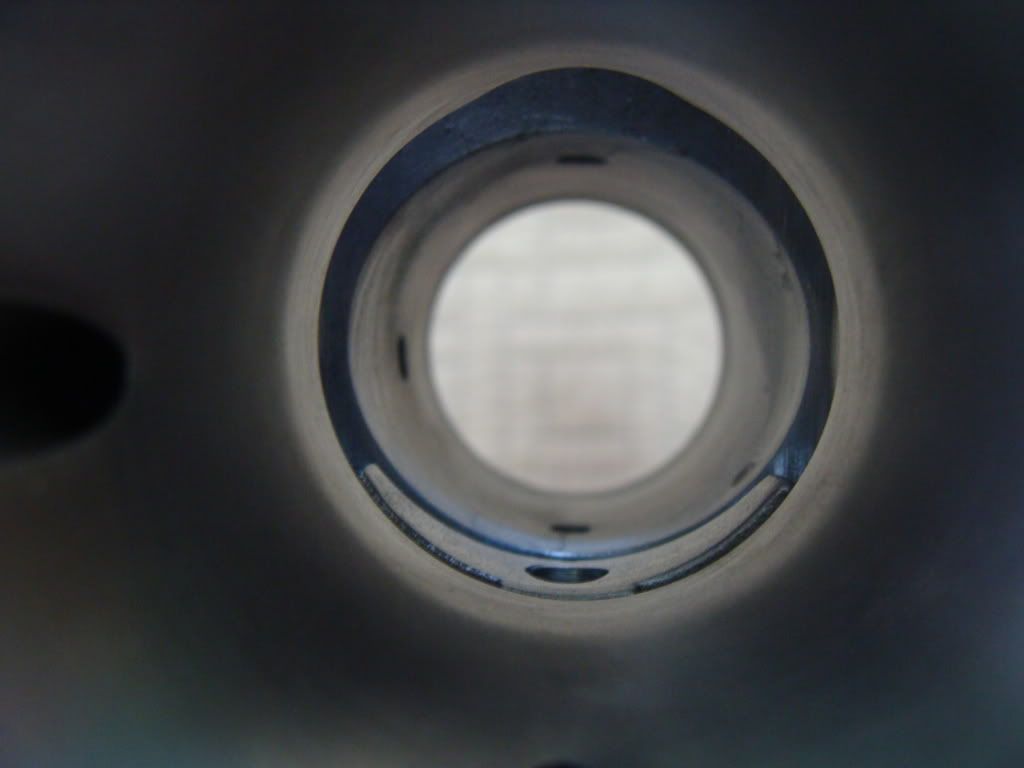
I have another question.. I'm going to "knife edge" the bottoms of the transfer ports and possibly open and smooth them out a little. Is there any advise before I proceed? Beside matching the cylinder to the base gaskets? Also I wanted to widen the exhaust and transfer ports a little as well as smooth out the cylinder side openings. I know some of you stated that you ported a forsaking bore. Is there any advise here? With of exhaust port? With of transfers? Do you go up in height on any of the ports? I'm trying to go for a aggressive street race setup. You help would much be appreciated. Thanks.
Re: SYM DD50 Build...
Posted: Fri Jul 22, 2011 2:05 pm
by donaudi
I'm by no means an expert in any way shape or form. I'm doing this to show that with a dremel, sand paper, spray paint, and some patience anybody and do this type of stuff. And more so, I encourage to do better than me. This is all that I can think of doing, but I know a lot of you guys are way more creative and technical than I am.
Re: SYM DD50 Build...
Posted: Fri Jul 22, 2011 4:55 pm
by kingkamehameha
I like all your nice p and p work keep it up. How much faster will this make you go?
Re: SYM DD50 Build...
Posted: Fri Jul 22, 2011 6:57 pm
by donaudi
That't the funny thing. All this "extra" work may not this motor any faster than someone who just bolts on the parts and go. If there is any diffrence, it will be small. My thought process behind doing this stuff is: If you purchase the parts why not spend a little more time and get the parts up to the best specs possible. And at the end of the day, you have somthing that's unique and that you can call your own. I've told myself that every setup and combo has been done and done many times. It's hard to see a setup that someone has never seen before. Especally here in Hawaii, everyone runs the same or similar setup.
Re: SYM DD50 Build...
Posted: Fri Jul 22, 2011 7:03 pm
by donaudi
Here's a little entertainment. It's a video of my buddy and me playing on a mountain road. The camera is on his bike and he's chasing me up the hill. He's on a R6 and I'm on a 636. ENJOY!

Here's the same run, but the camera is on my 636.

Re: SYM DD50 Build...
Posted: Sun Jul 24, 2011 3:20 pm
by bakaracer
donaudi wrote:BAKA, your comments and suggestions are always appreciated and welcome. About polishing the top of the position.... I was contemplating doing that, but I was concerned about removing the "graphite" coating. What would you think would be better? A polished piston top or leave that graphite coating??
you can try it with the coating first and see how fast the carbon sticks. if it sticks fast then polish the top.