Spree Paint Job: "HOW-TO" Step By Step Directions
Posted: Sun Jul 07, 2013 8:57 pm
Hey! So, a while back I asked if any of you would like a ÔÇ£how-toÔÇØ on paint jobs, some of you said yes, so here it is. Hopefully it can help some people out.
I'm currently in the process of repainting by 87 Spree and figured I would make a how-to for painting your scoot. The reason I'm creating this how-to is because of the hours spent online without finding a step-by-step how-to on painting. So here it goes...
NOTE: I am not a professional painter and the method I used was just information I gathered from other posts around the net. My paint job wasnÔÇÖt perfect; however I am very very satisfied with it!
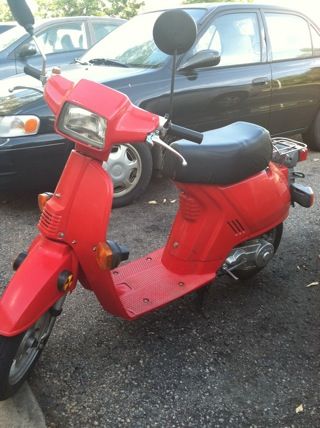
Here's what I started with... a perfect running 87 Spree I found on craigslist for $250 (I think)
First step: Obviously youÔÇÖre going to take of the body panels off of your bike. Fairly easy task until you get to the front fender as you do have to remove the front fork to get the fender off... I chose to leave it on and tape around to relieve myself of the headache I knew it would cause. Also, I chose to put back all nuts and bolts after I removed the panels so I knew where they would all go when I was done.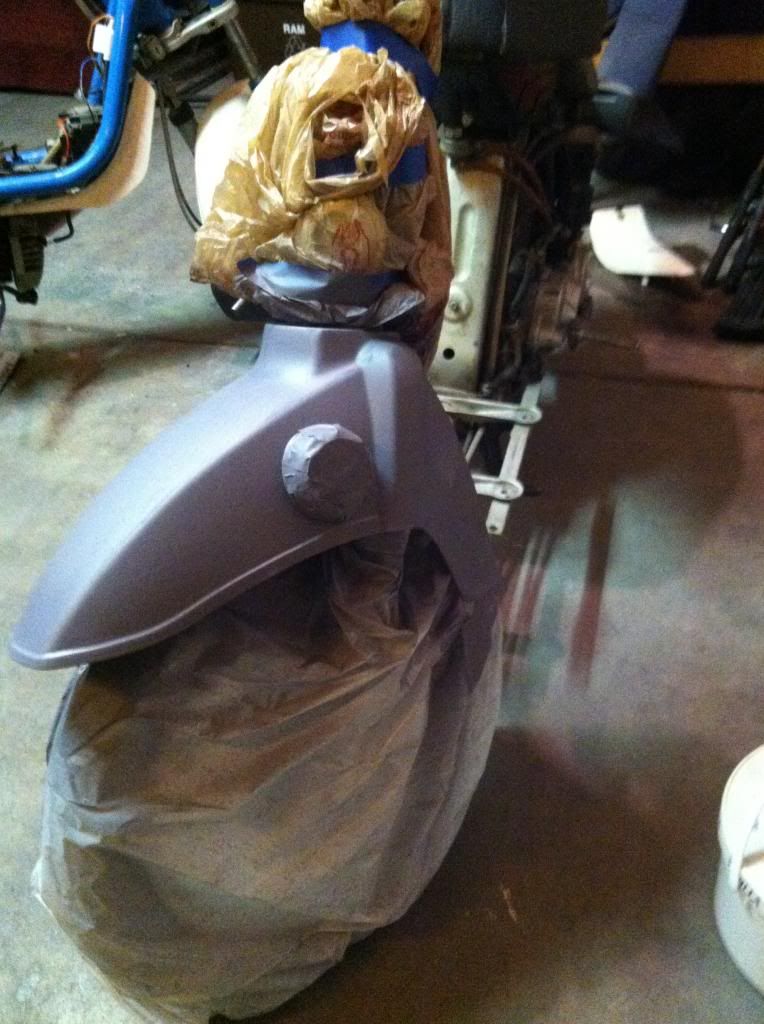
Side Note: While you have all of these panels off itÔÇÖs not a bad idea to go through your scooter and do a tune up. I cleaned the air filter, changed the spark plug, installed a new battery, fixed some wiring issues I was having and cleaned out my exhaust by throwing it on a charcoal fire then after painting with black high heat paint.(I was shocked that my spree was running after I saw the spark plug).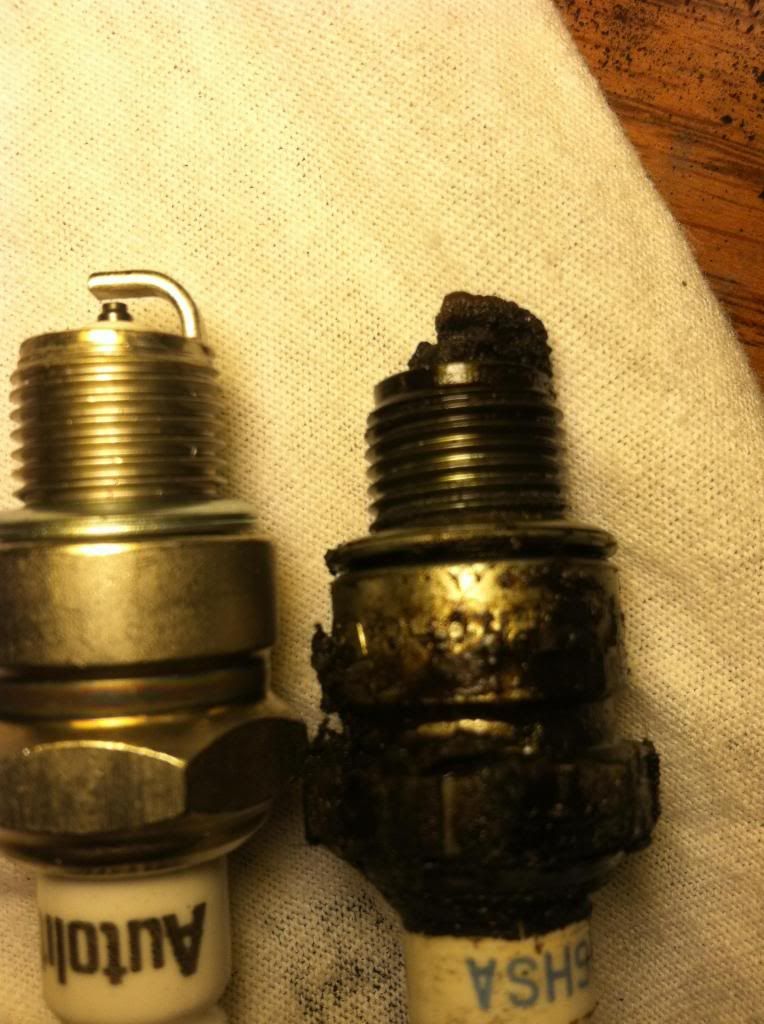
Step 2: Sanding. I used 250 grit the first time around. Make sure and not add to much pressure as you will gouge the plastic which will definitely show when your paint job is done. (I learned this the hard way). Just make sure you get all areas on all panels as you want the paint to really stick.
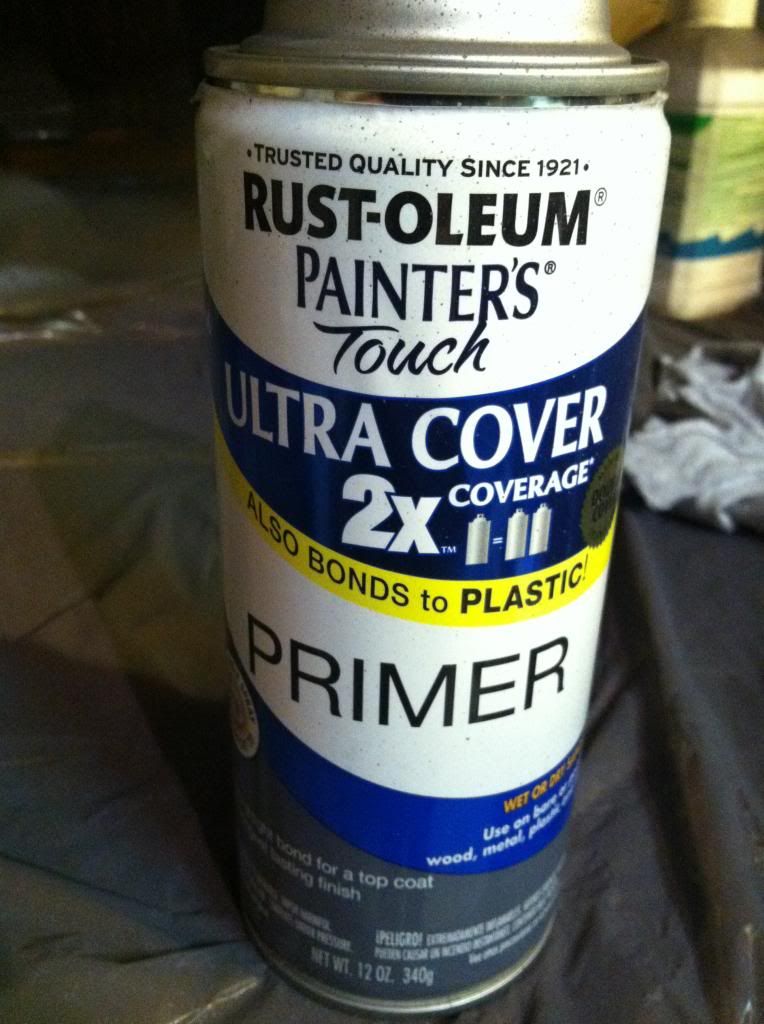
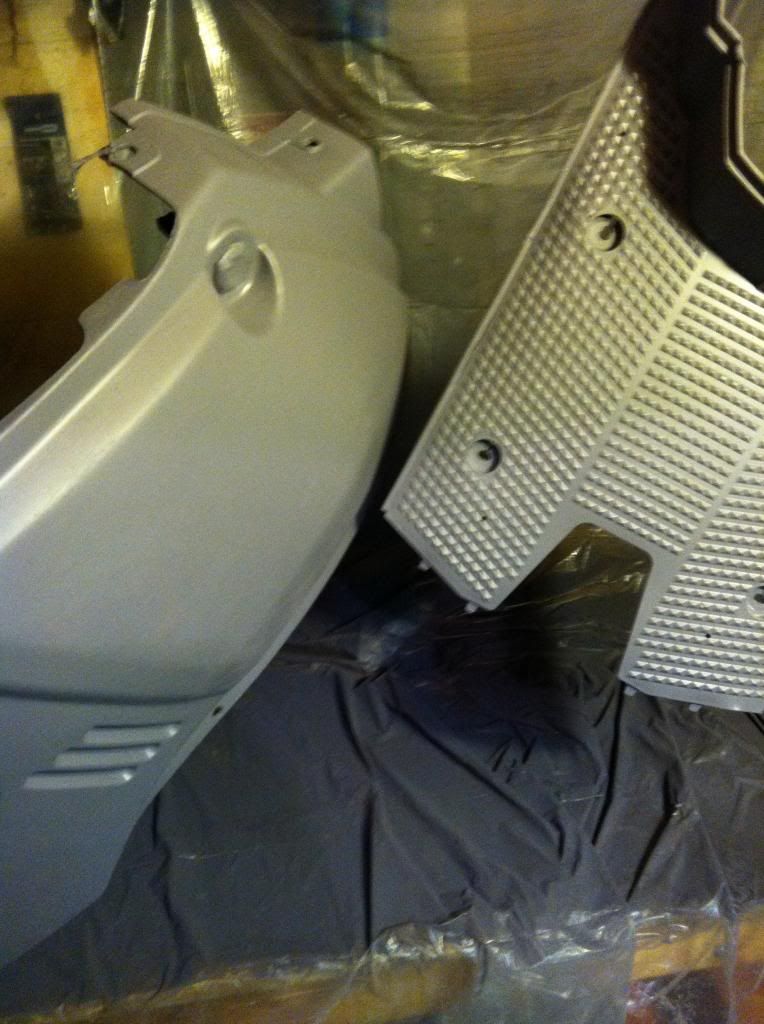
Step 3: Prime. (WasnÔÇÖt sure if this was absolutely necessary but figured it wouldnÔÇÖt hurt). I used a primer made by Rustoleum. Make sure it is made for plastics as you want the primer to be ÔÇÿflexibleÔÇÖ so it wonÔÇÖt crack on the flimsy Spree panels. I sprayed everything thoroughly and extra heavy on the footboard since I knew that would get a lot of wear.
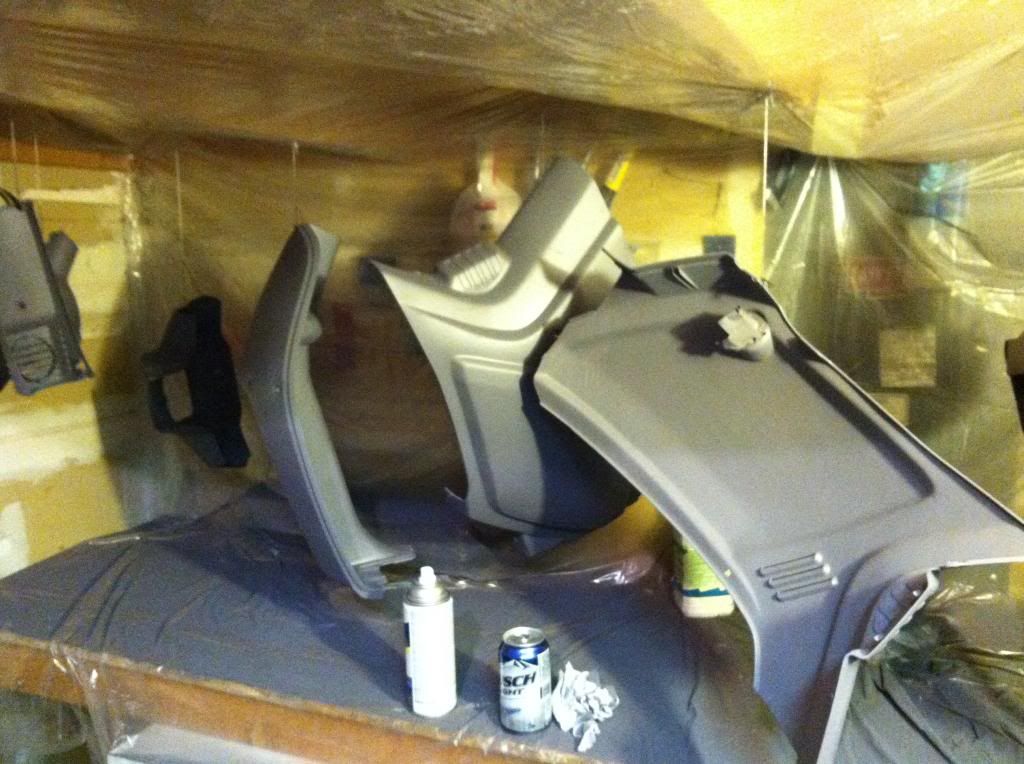
NOTE: Make sure the panels are clean before you lay down any coat. Any flakes or dust will show through paint job.
Step 4: More sanding. This is where I realized I sanded to hard that first time. So if you do it right the first time you can skip this.
Step 5: Paint. I went with Krylon Fusion spray paint as a cheap solution. I heard good things about it on other posts so I figured I would give it a go. I did 3 coats on everything accept the floor board; I laid it on pretty heavy again.
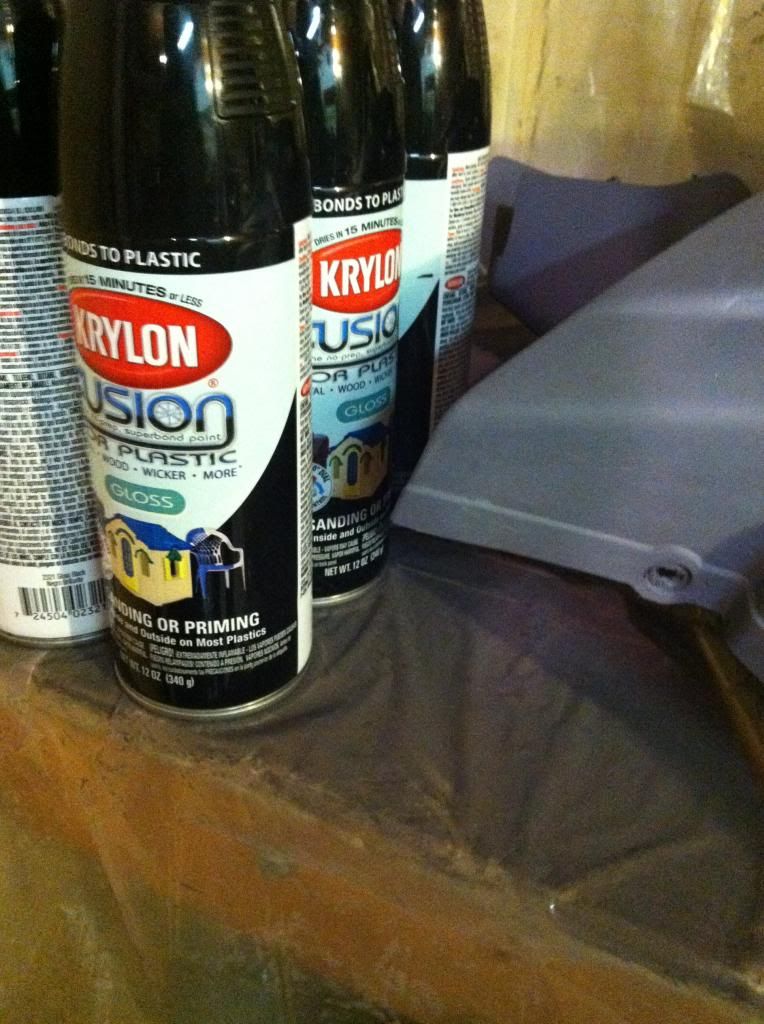
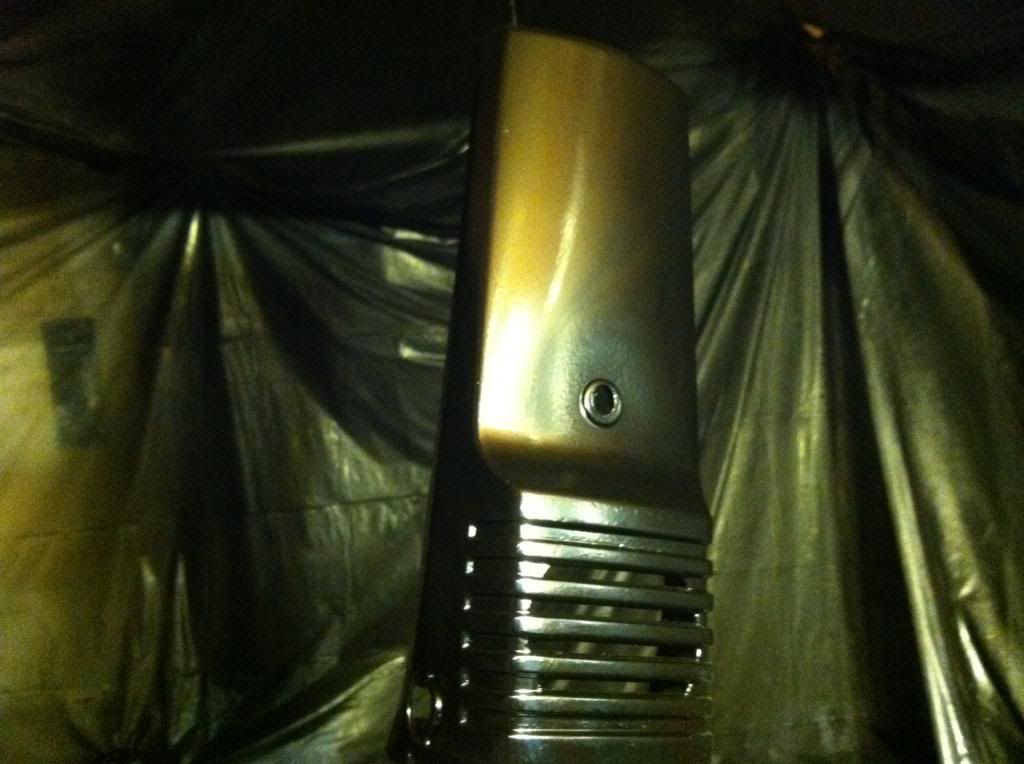
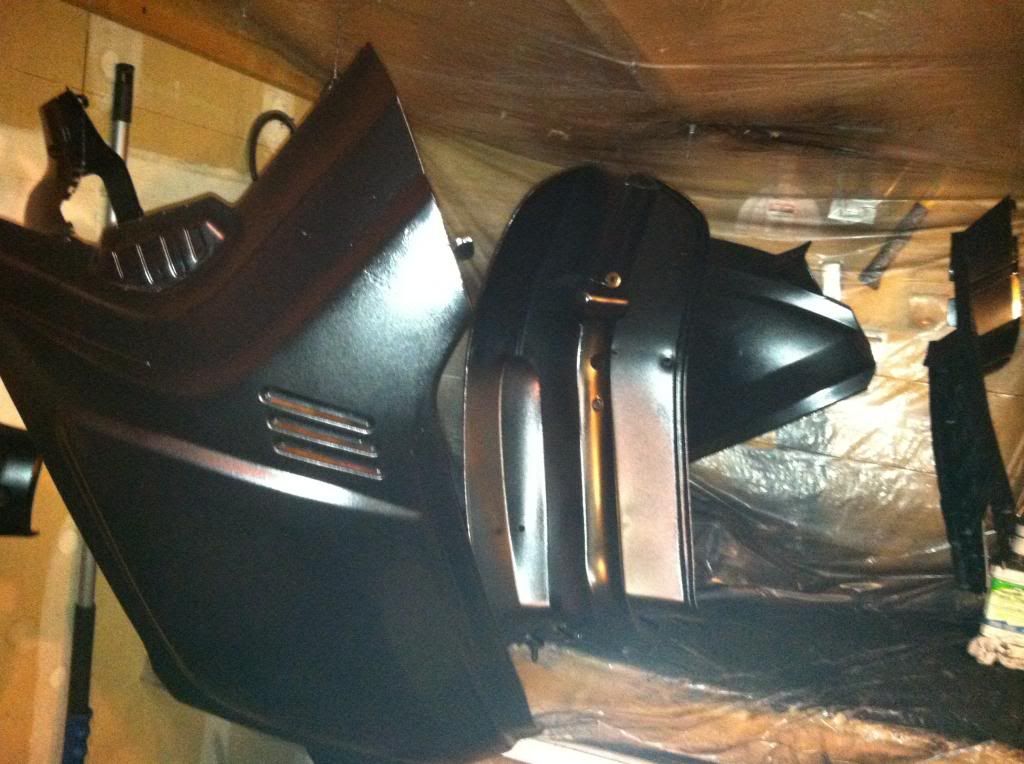
Step 6: Clear Coat. I still went with Krylon Fusion as they offer a clear coat made specifically for plastics which will allow the plastic to flex slightly without the paint cracking. Another 3 coats of this and again I went really heavy on the floor board.
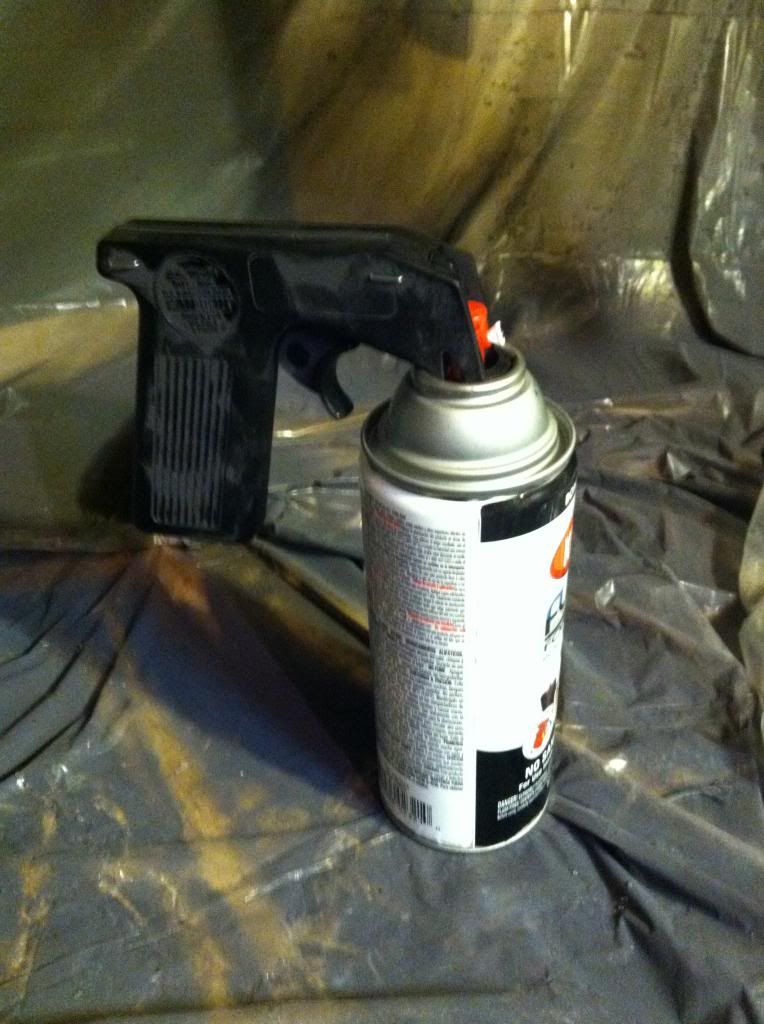
BTW: This little spray can finger trigger is awesome! Saves your pointer finger from a lot of pain.
Step 7: More wet sanding. Here is where I went through with 1000 grit and smoothed out as many blemishes as I could. Then wet sanded with 2000 grit sand paper. This part is tedious but make sure you take your time doing a thorough job otherwise it will show on the next step.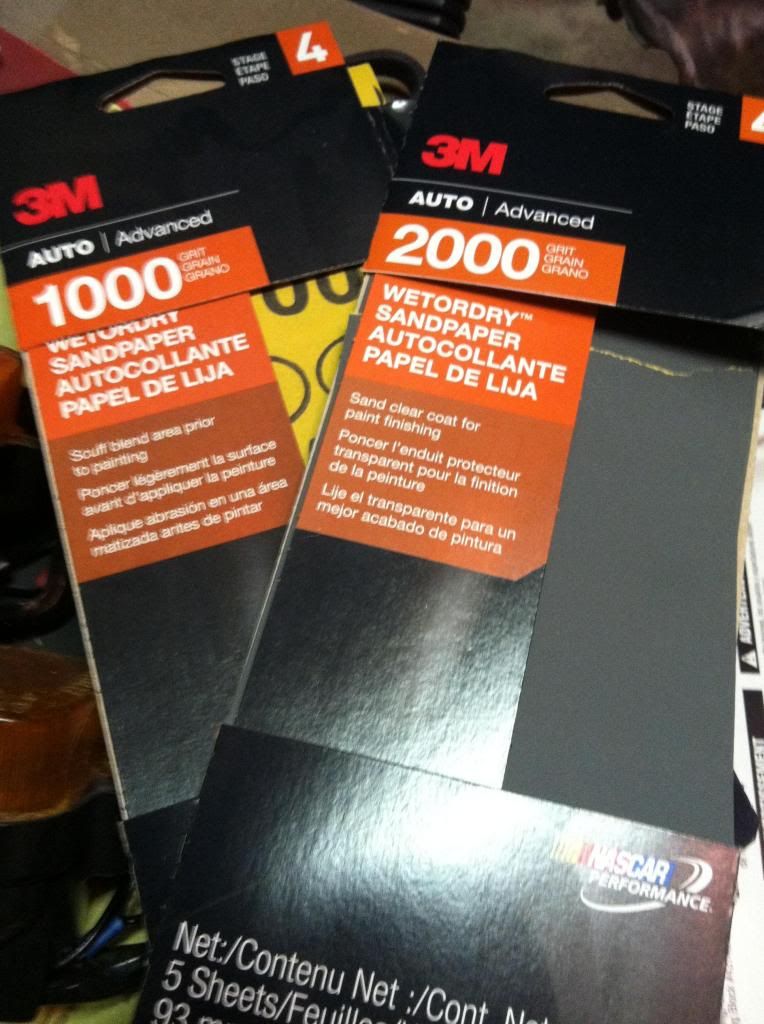
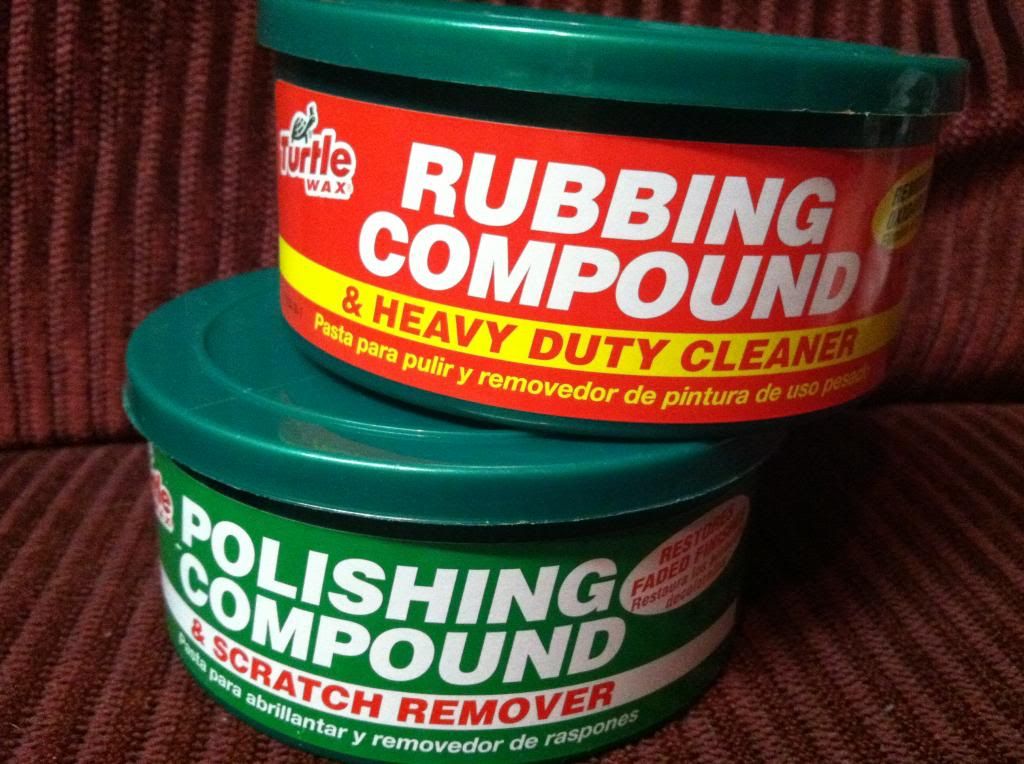
Step 8: Buffing. I stopped by AutoZone and picked up rubbing and polishing compound. I had never done this process before but itÔÇÖs pretty simple. To apply I picked up some round micro-fiber pads for a couple bucks. After you clean the panels thoroughly with soapy water start with the rubbing compound first then the polish.
I was pretty surprised at the results!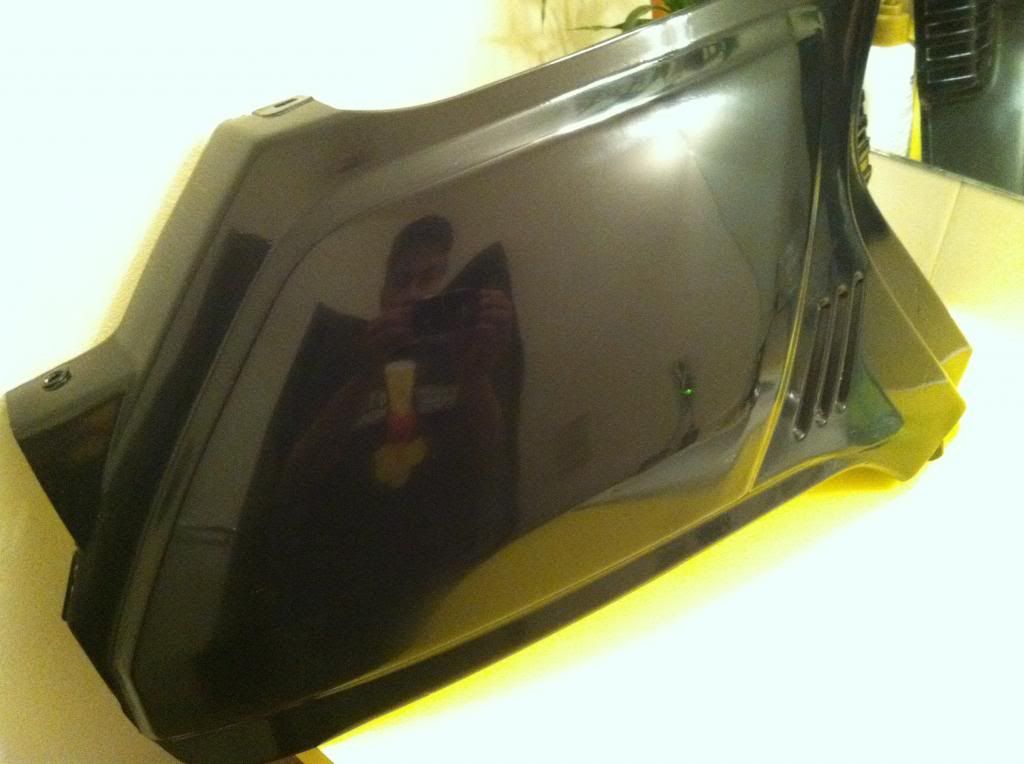
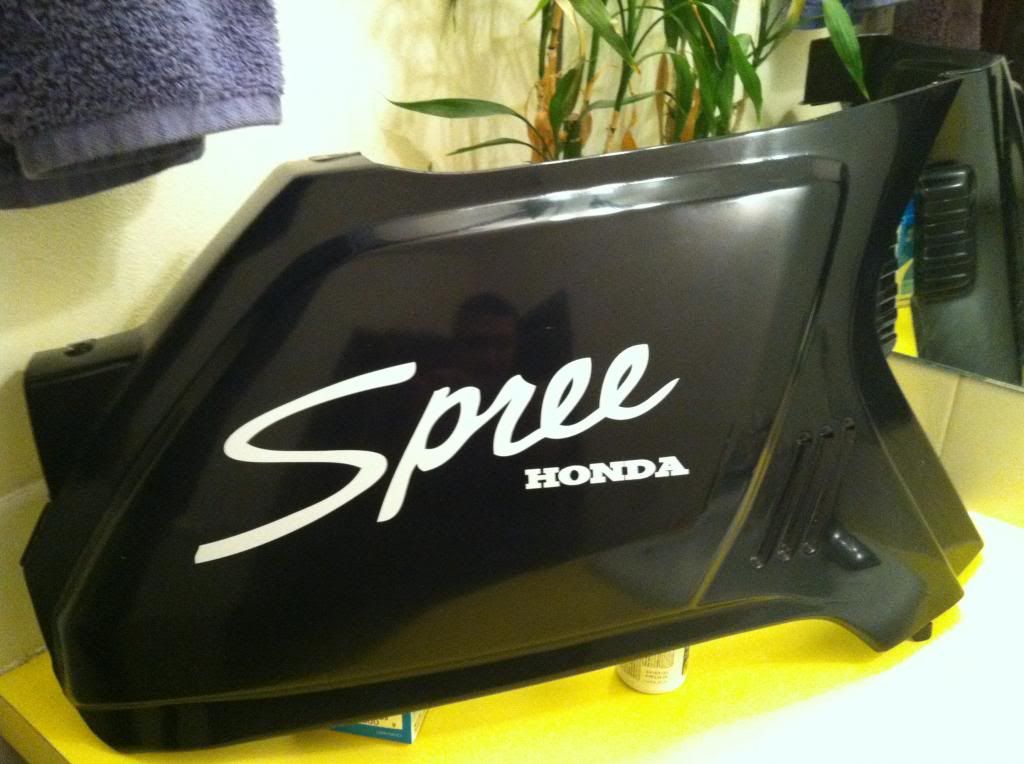
Step 9: Decals. Now this step is optional but I wanted to keep the scooter as ÔÇÿoriginalÔÇÖ looking as possible (even though I didnÔÇÖt keep an original paint scheme). So I ordered some decals off of eBay for $30 and they look great! FYI I am in the process of having some of the original warning stickers made up.
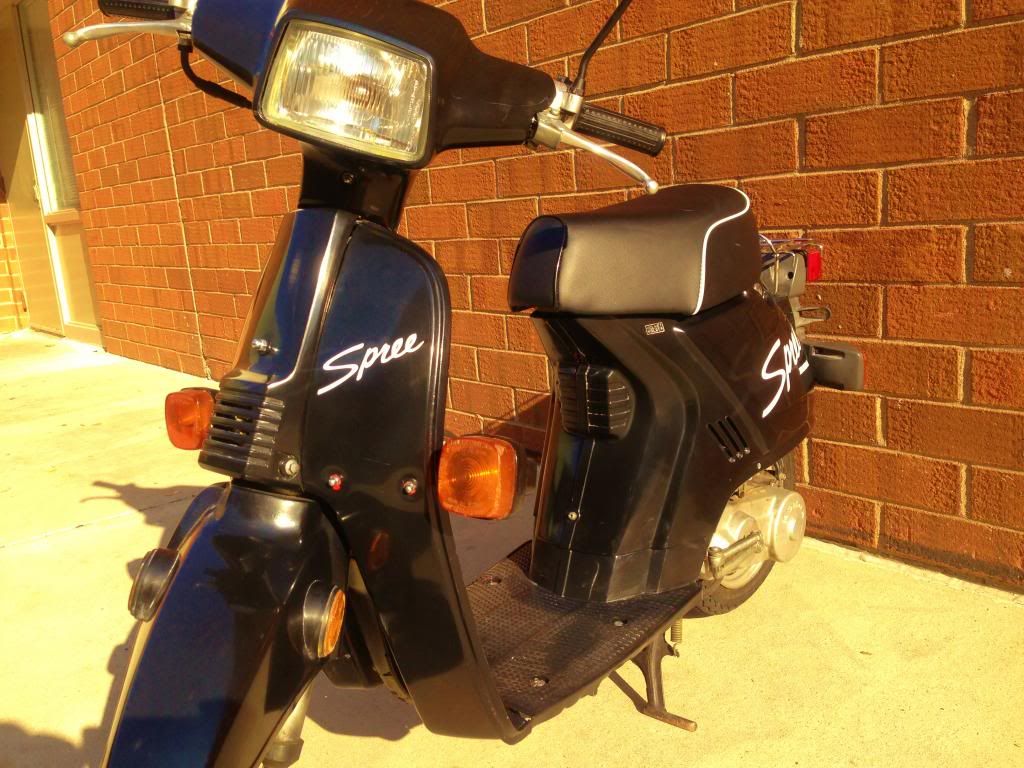
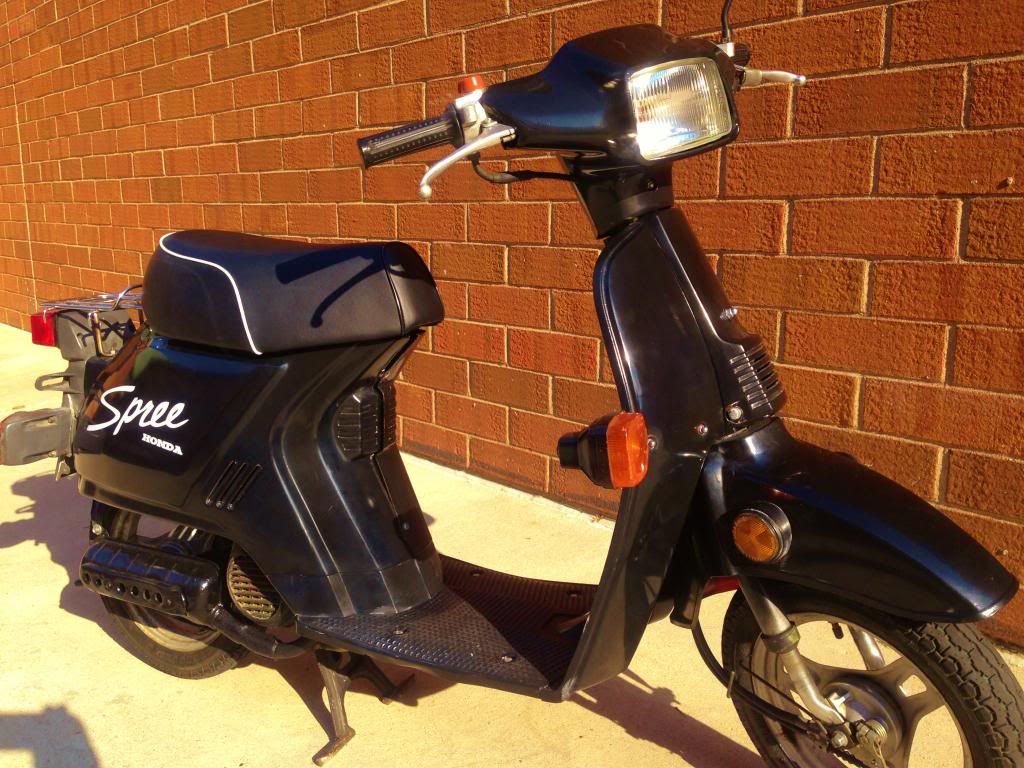
Step 10: Wax and put everything back! Apply a good coat of wax then reinstall all of the panels back onto the scooter and drive away! Here are some ÔÇ£afterÔÇØ pictures I took after my Spree paint job.
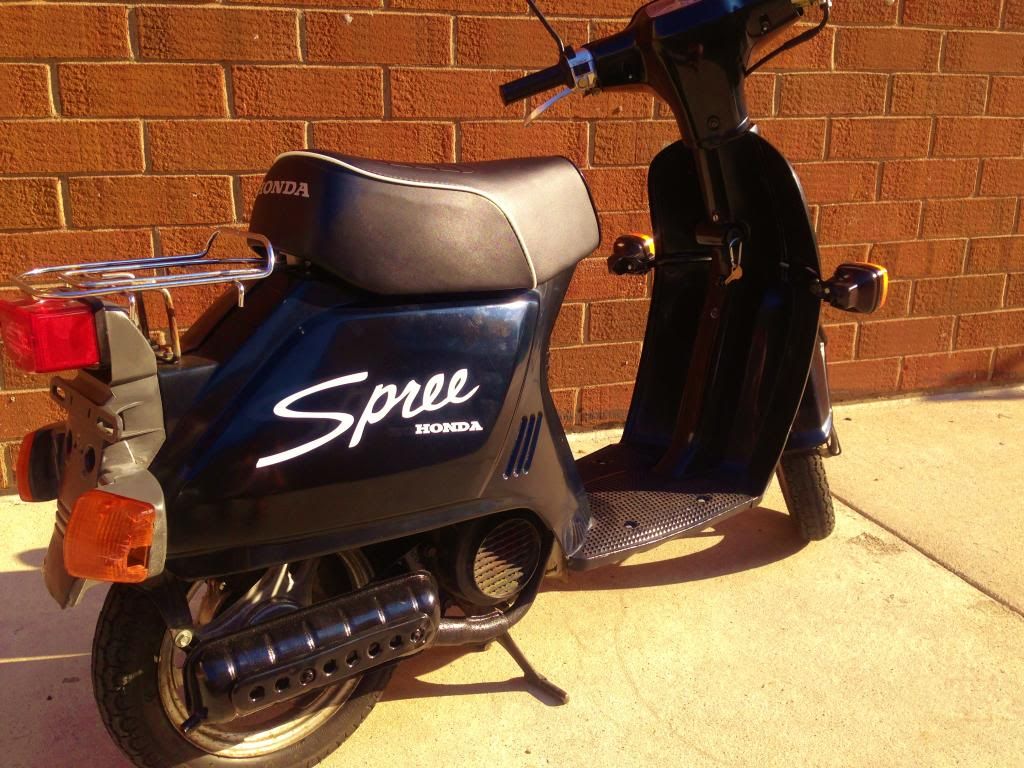
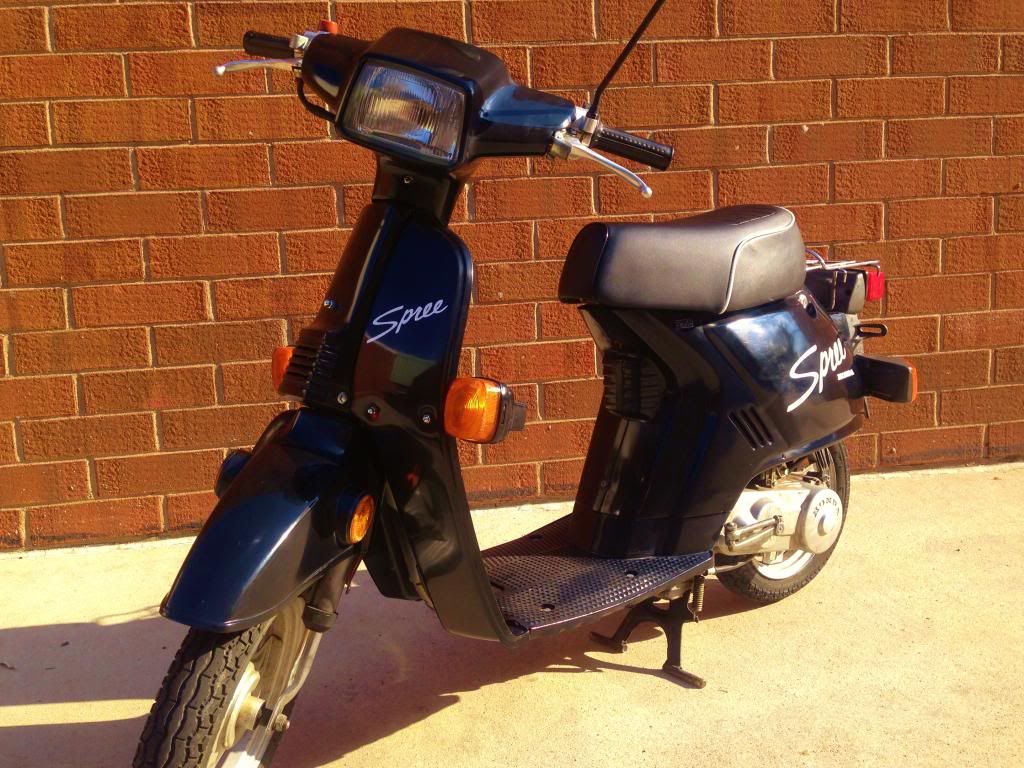
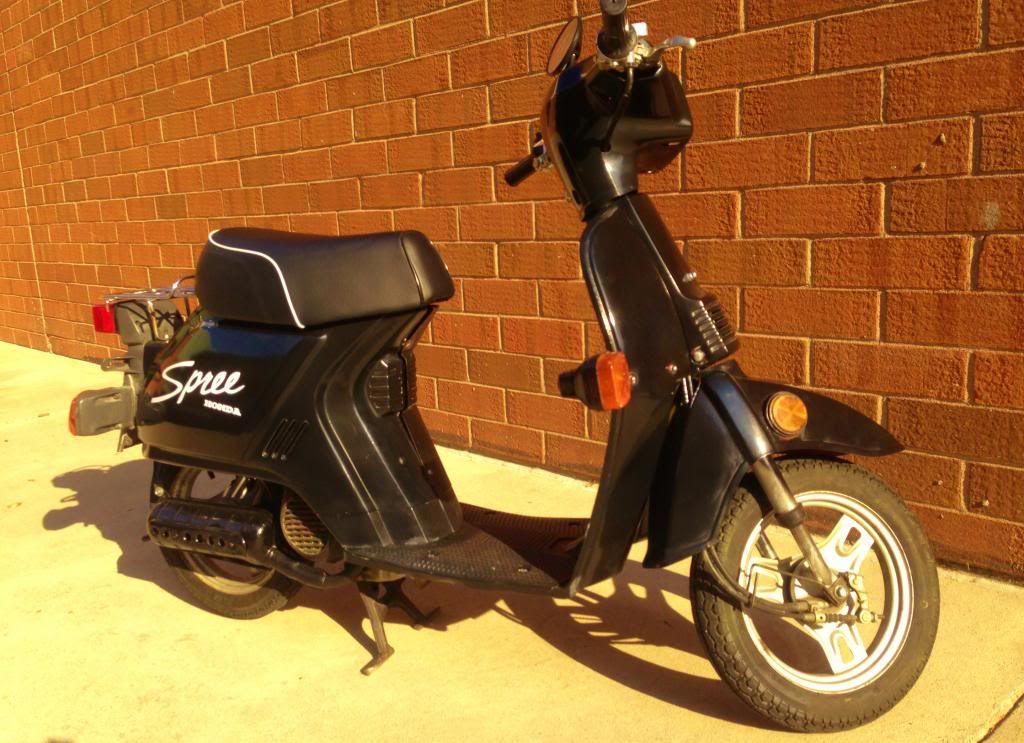
BTW: The seat cover I got on eBay for like $20 and I am amazed at the quality!
Like I said it's not a perfect paint job. But I am the perfectionist type and I am extremely satisfied with the results!!
If you have any questions on any of the steps please ask!
Thanks and I hope this helps some of you.
I'm currently in the process of repainting by 87 Spree and figured I would make a how-to for painting your scoot. The reason I'm creating this how-to is because of the hours spent online without finding a step-by-step how-to on painting. So here it goes...
NOTE: I am not a professional painter and the method I used was just information I gathered from other posts around the net. My paint job wasnÔÇÖt perfect; however I am very very satisfied with it!
Here's what I started with... a perfect running 87 Spree I found on craigslist for $250 (I think)
First step: Obviously youÔÇÖre going to take of the body panels off of your bike. Fairly easy task until you get to the front fender as you do have to remove the front fork to get the fender off... I chose to leave it on and tape around to relieve myself of the headache I knew it would cause. Also, I chose to put back all nuts and bolts after I removed the panels so I knew where they would all go when I was done.
Side Note: While you have all of these panels off itÔÇÖs not a bad idea to go through your scooter and do a tune up. I cleaned the air filter, changed the spark plug, installed a new battery, fixed some wiring issues I was having and cleaned out my exhaust by throwing it on a charcoal fire then after painting with black high heat paint.(I was shocked that my spree was running after I saw the spark plug).
Step 2: Sanding. I used 250 grit the first time around. Make sure and not add to much pressure as you will gouge the plastic which will definitely show when your paint job is done. (I learned this the hard way). Just make sure you get all areas on all panels as you want the paint to really stick.
Step 3: Prime. (WasnÔÇÖt sure if this was absolutely necessary but figured it wouldnÔÇÖt hurt). I used a primer made by Rustoleum. Make sure it is made for plastics as you want the primer to be ÔÇÿflexibleÔÇÖ so it wonÔÇÖt crack on the flimsy Spree panels. I sprayed everything thoroughly and extra heavy on the footboard since I knew that would get a lot of wear.
NOTE: Make sure the panels are clean before you lay down any coat. Any flakes or dust will show through paint job.
Step 4: More sanding. This is where I realized I sanded to hard that first time. So if you do it right the first time you can skip this.
Step 5: Paint. I went with Krylon Fusion spray paint as a cheap solution. I heard good things about it on other posts so I figured I would give it a go. I did 3 coats on everything accept the floor board; I laid it on pretty heavy again.
Step 6: Clear Coat. I still went with Krylon Fusion as they offer a clear coat made specifically for plastics which will allow the plastic to flex slightly without the paint cracking. Another 3 coats of this and again I went really heavy on the floor board.
BTW: This little spray can finger trigger is awesome! Saves your pointer finger from a lot of pain.
Step 7: More wet sanding. Here is where I went through with 1000 grit and smoothed out as many blemishes as I could. Then wet sanded with 2000 grit sand paper. This part is tedious but make sure you take your time doing a thorough job otherwise it will show on the next step.
Step 8: Buffing. I stopped by AutoZone and picked up rubbing and polishing compound. I had never done this process before but itÔÇÖs pretty simple. To apply I picked up some round micro-fiber pads for a couple bucks. After you clean the panels thoroughly with soapy water start with the rubbing compound first then the polish.
I was pretty surprised at the results!
Step 9: Decals. Now this step is optional but I wanted to keep the scooter as ÔÇÿoriginalÔÇÖ looking as possible (even though I didnÔÇÖt keep an original paint scheme). So I ordered some decals off of eBay for $30 and they look great! FYI I am in the process of having some of the original warning stickers made up.
Step 10: Wax and put everything back! Apply a good coat of wax then reinstall all of the panels back onto the scooter and drive away! Here are some ÔÇ£afterÔÇØ pictures I took after my Spree paint job.


BTW: The seat cover I got on eBay for like $20 and I am amazed at the quality!
Like I said it's not a perfect paint job. But I am the perfectionist type and I am extremely satisfied with the results!!
If you have any questions on any of the steps please ask!
Thanks and I hope this helps some of you.