Page 1 of 4
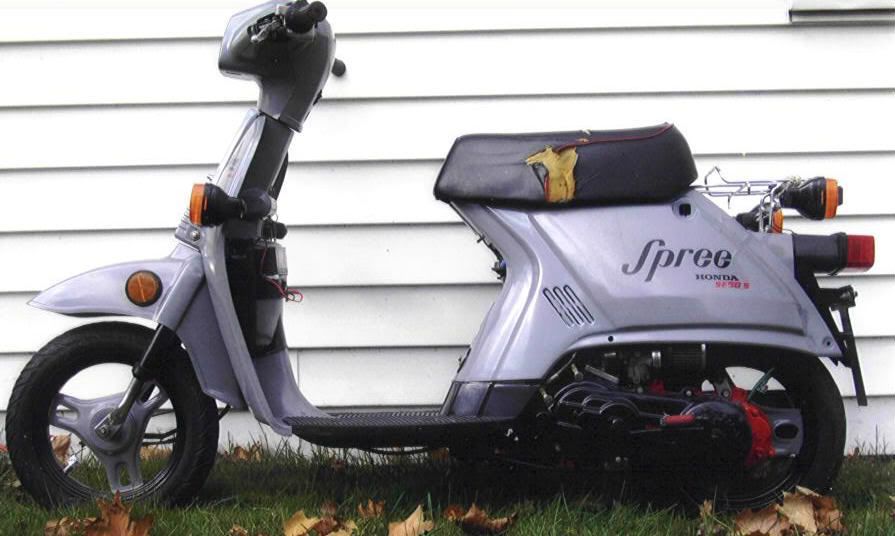
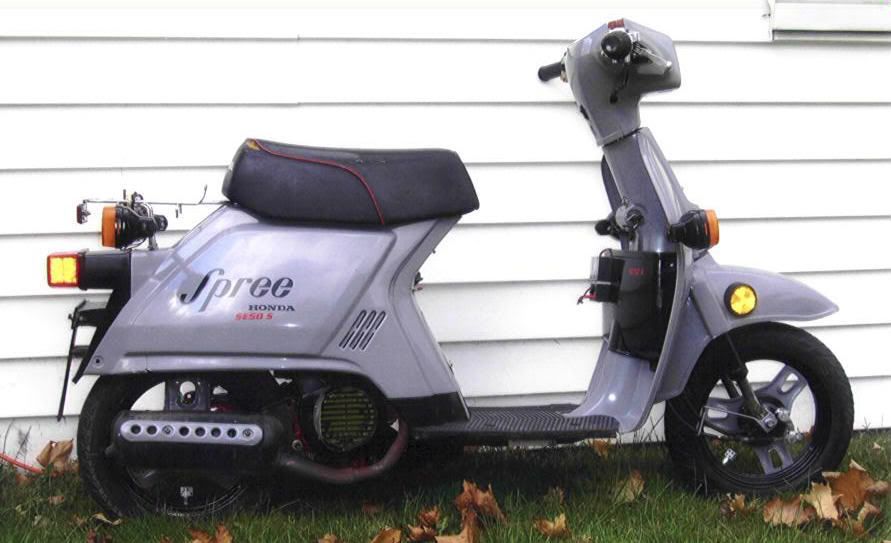
My Spree to se50 motor swap, spree=40+mph!
Posted: Sun Aug 03, 2008 9:54 pm
by PimpinSpree
now that i have it done, heres a parts list of what you need to do a se50 (dio is the same)
se50 or dio motor
se50 or dio rear wheel (not sure if thy are interchangable
se50 or dio brake cable
se50 or preferably a dio carb
a new kickstand
6" 5/16 bolt and 10 or so washers that fit real snug and a locking nut
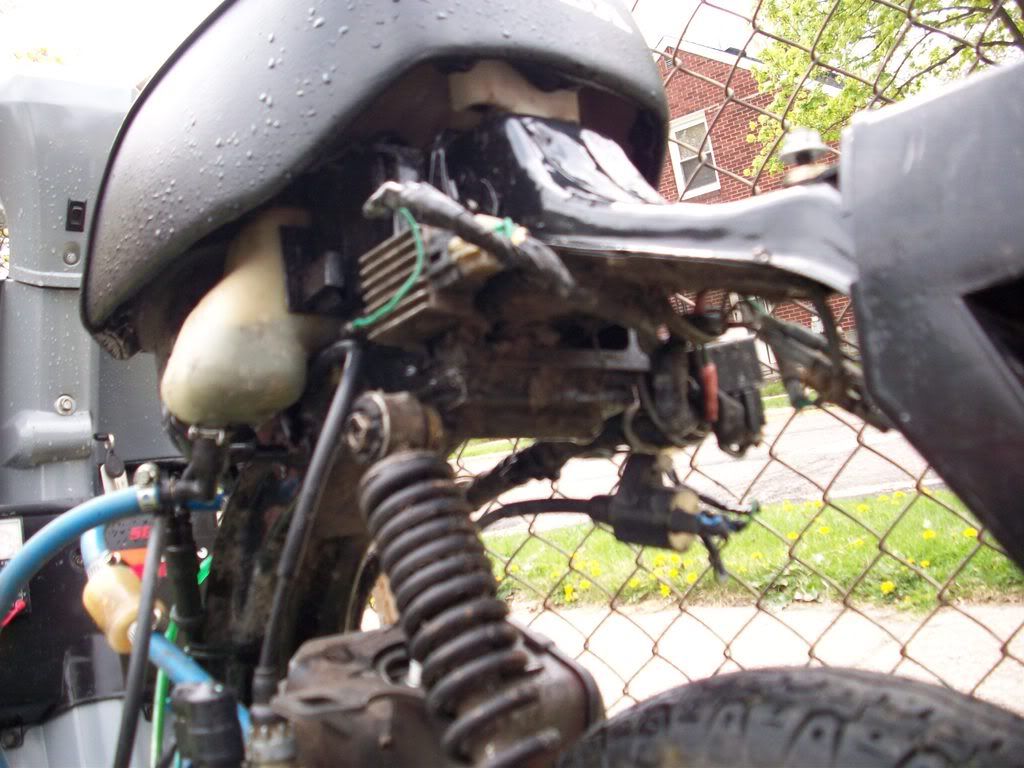
somthing to use for a shock mount 1 1/2 inches off the frame by the voltage regulator
got my se50 motor in, cleaned somewhat, carb cleaned and scabbed onto the spree.

And it runs

I'll add more pics as i go. I intend to document the whole thing
Posted: Tue Aug 05, 2008 12:52 am
by PimpinSpree
torn down with motor removed

center stand removed

motor mount where the center kickstand used to go

se50 hanging from the spree frame

me holding up the motor, thats the original spree shock. The se50 shock was too long

thats all the farther i got tonight. I need to get some steel to weld on for the shock mount. And some spacers for the motor mount, because the mounts on the se50 have too much space in between them for the spree motor mount
Posted: Tue Aug 05, 2008 3:13 am
by tru72
nice job so far pimpin!
keep up the good work!
Posted: Tue Aug 05, 2008 6:22 pm
by Kenny_McCormic
Nice, keep a bystarter in this one. This should be stickied.
Posted: Tue Aug 05, 2008 10:55 pm
by mousewheels
Hey, thanks for the pics. Like that you set up a quick test run that engine before starting the swap.
Posted: Tue Aug 05, 2008 10:57 pm
by PimpinSpree
well my plan of just welding my mount onto the frame was somewhat of a disaster. Should have done like chevyguyjay and just bolted it on
I do not not recomend welding it on at all. Its on, its strong and not ever going anywhere, but its ugly. It was near impossible to make any decent looking welds at least with the crappy welder i borrowed and with the frame right side up. Im trying get it hooked up right now. I'll post pics later
Posted: Wed Aug 06, 2008 12:20 am
by PimpinSpree
well, i got it on, ran it around the block, ran like crap, but im not concerned with that right now, probably because im using the injector oil, and premix, till i verify the oil pump works, or till i get my plug. or because i had no airfilter on and still using a 68 jet. But i'll take more pics of the walkthrough, i was concerned about getting it going as soon as possible so i would know if i need to order any parts before i leave on vacation
Posted: Wed Aug 06, 2008 4:44 pm
by chevyguyjay
cant wait to c it. wish i never sold my 84.


Posted: Wed Aug 06, 2008 11:42 pm
by PimpinSpree
well its "done." the swap is anyway. Just gotta paint the welds and put it back together. And i got the motor running good. Lets just say kennys right....... "do plenty of plug chops." i kept thinking it was getting too much fuel or losing spark the way it was bogging out so bad. Couldn't figure it out, finally pulled the plug, and im lean as *. "oh no air filter on". threw the stock air filter on and runs like a champ
Im already way way faster then the spree motor. Spree took forever to get to 30. This new one zips right up to 35. Can't wait to see what happens with the performance parts i have. New variator, clutch springs, contessa big bore kit, and 8.4 final gear and the dio gears
speaking of which, do you need any gaskets to put a variator on? I have all the gaskets i could find on order, but they won't be here for a couple weeks. Id like to throw that on there now.[/b]
Posted: Thu Aug 07, 2008 1:28 am
by Kenny_McCormic
Although there is a gasket between the case and cover, it serves no purpose.
Posted: Thu Aug 07, 2008 5:48 pm
by teeoce
Hey pimpin I am in the process of doing the same thing you did. Can you be a little more specific of exactly what you did for the shock mount? I have read what chevyjay said and I wondered if you did it like him or another way, and if you could be more specific that would be great. I'm just concerned I get the right distance back and down for the mount so that it sits right. Where abouts did you drill the holes for to bolt up the mount? Are you using the stock spree shock and air filter? Is that a se50 or se50p?
Posted: Thu Aug 07, 2008 7:57 pm
by PimpinSpree
the shock mount needs to be aproximitly 1 1/2" (minimum) off of the frame right behind the by the voltage regulator. A little more than that would be good, because mines an inch an a half and the scooter sits a little low. I would have liked more clerance for the rear wheel. I think jay said he used a 4 inch wide piece of channel with a bolt welded on it.
i have pictures of what i did and i will post them tonight or tomorrow. Like i said, i welded mine on, if i were gonna do it again, i would bolt it on
Posted: Thu Aug 07, 2008 9:11 pm
by teeoce
Did you use the spree air box and shock?
Posted: Fri Aug 08, 2008 12:52 am
by PimpinSpree
no on the spree airbox, im using the se50 airbox. And yes i used the spree shock. the other one was too long
Posted: Sat Aug 09, 2008 1:10 am
by PimpinSpree
first off, excuse the crappy welds, its due to the welder i used. I borrowed a cheap $100 110 ac arc welder. Im a decent welder, but this thing is near impossible to make any welds that look good. I burned a couple holes (did my best to fill them) because i turned the heat up to make sure it penetrated good
My motor mount welded up. 1 1/2" thick piece of strut channel, with a bolt and a washer welded on

wet tshirt and towel over overthing, worked good, nothing caught on fire

motor mount welded on, not really happy with it, but its strong, just ugly, i covered it in jbweld to fill in all the little nooks and crannys. REALLY REALLY wish i would have bolted it on

torn apart, replacing the brake cable, no kickstand yet, getting ready to weld the kickstand on

didn't learn my lesson welding the mount on, so i welded the kickstand on. IT had too much flex so it needed a bolt welded in to stabalize it. Worked awsome, im fairly happy it.

heres the finished kickstand, with it down

here it is with it up

and heres a shot of the wiring splices, Just had to cut off the se50 harness, and crimp on either male or female barrel connectors


