Driven pulley service step by step

Trying to get your Spree/Elite to run, or run better? Post your questions here.

Moderator: Moderator

Post Reply
User avatar
patthesoundguy
Moderator
Moderator
Posts: 3159
Joined: Mon Mar 29, 2010 11:38 am
Location: Nova Scotia, Canada
Contact:

Driven pulley service step by step

Post by patthesoundguy »

Many of us have variated transmissions on our scoots, but how many of us actually think of pulling apat the driven pulley and servicing it. I think its one of those out of sight out of mind things because it is part of an assembly. Or it seems like a real pain to service it. Well its your lucky day its not a pain at all.
Here is a step by step for some driven pulley maintenance.

1. First of all you should have a 39mm socket for this process. The nut can be removed with a adjustable wrench but if you have the socket this will be easier. My socket was about $15 tax included. I figure we don't need to cover how to remove the clutch/pulley assembly as this is covered elsewhere.
Image

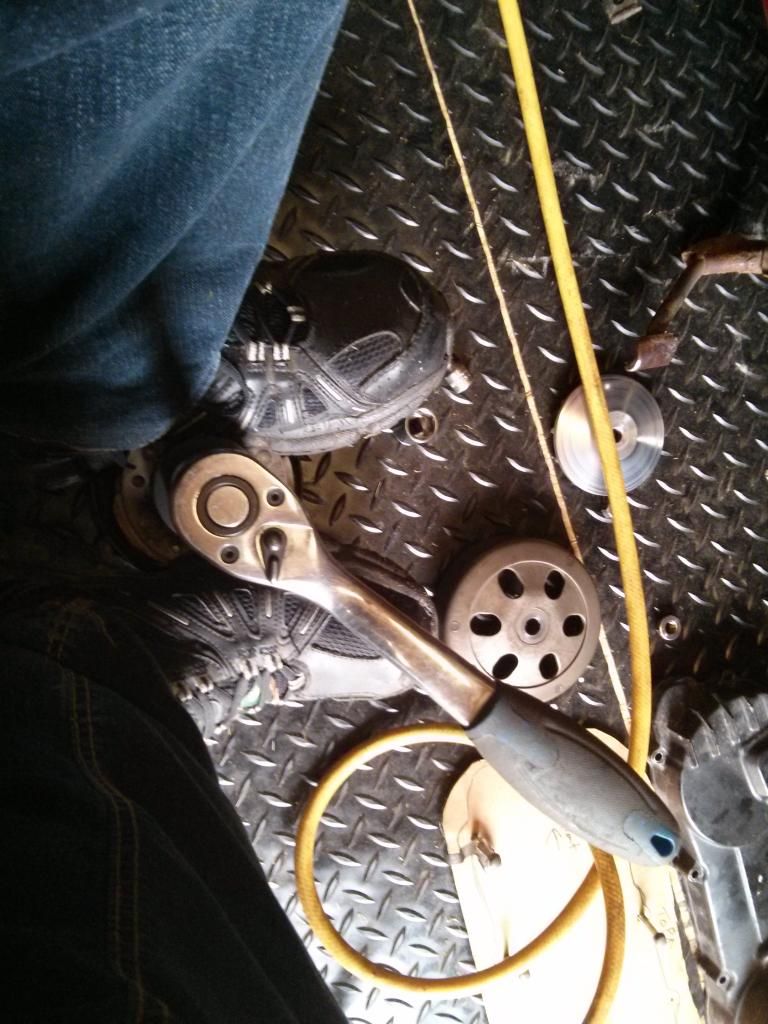
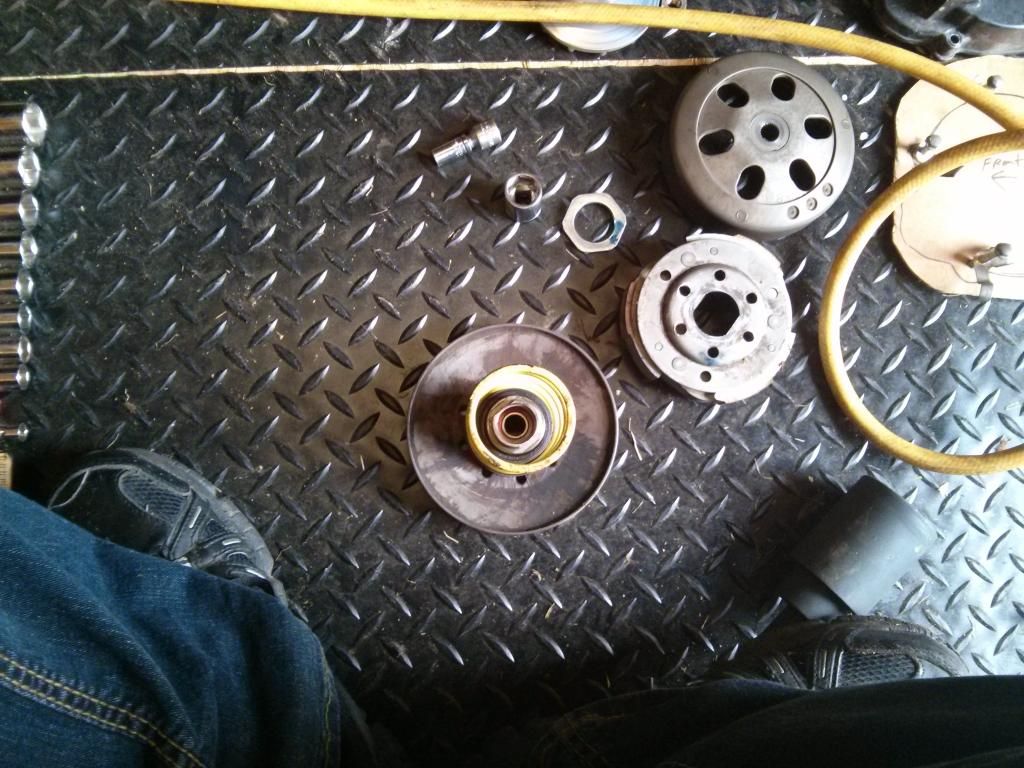
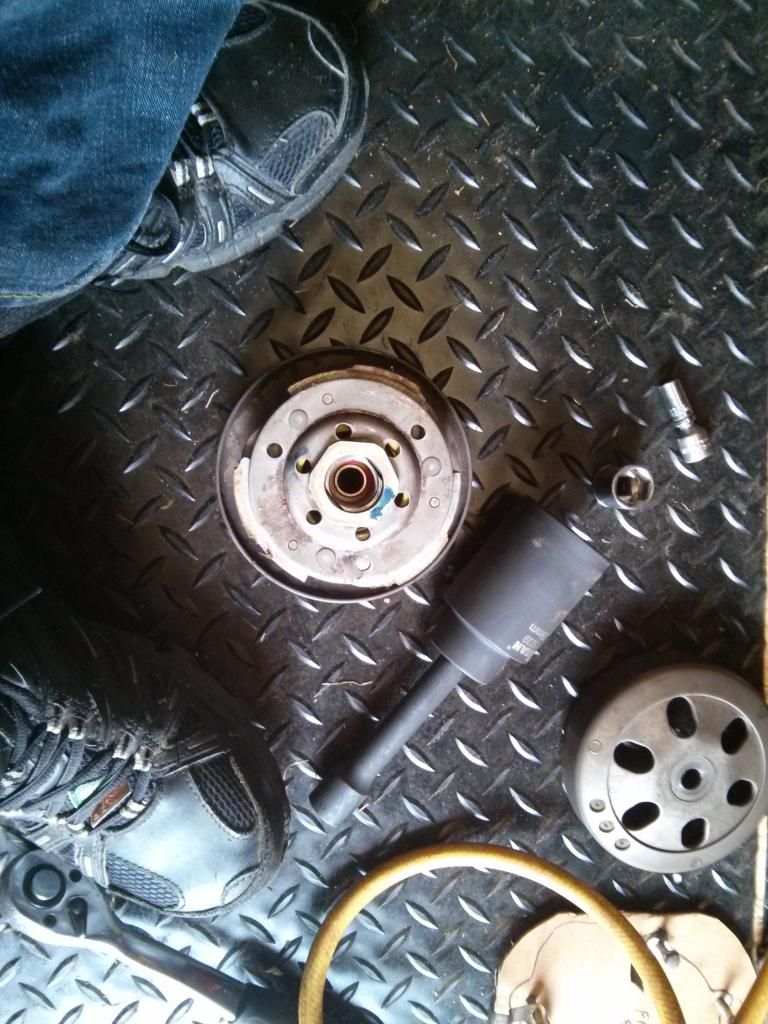
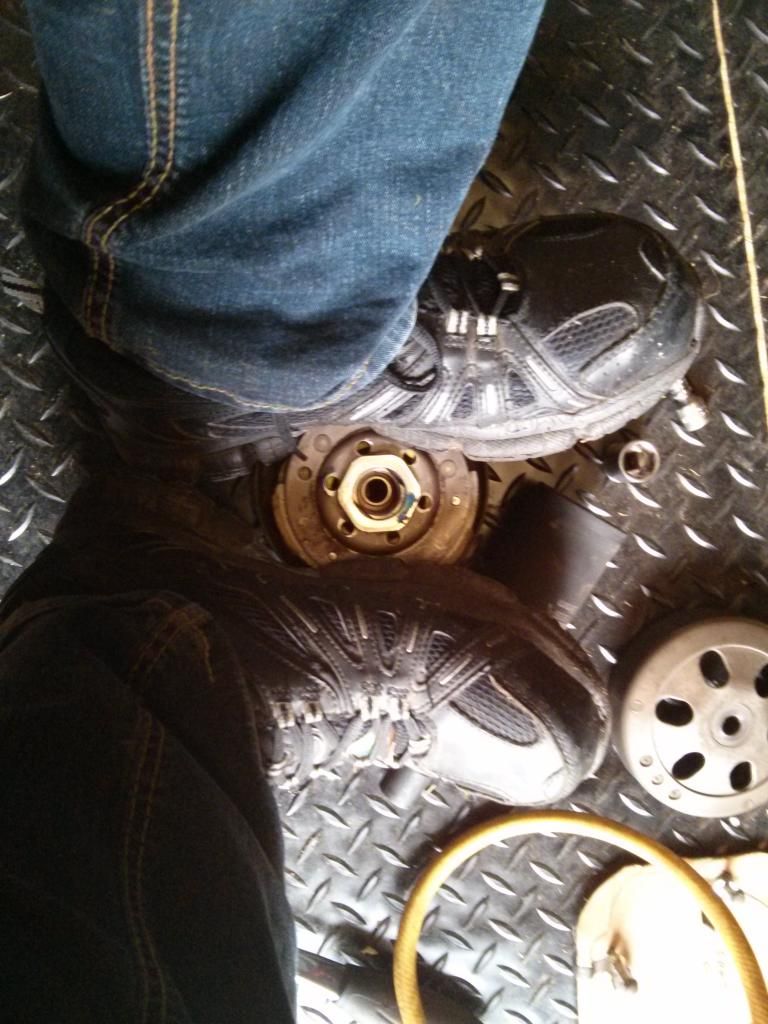
2. Once you have the assembly off of the scooter sit on something like a stool or chair with the pulley on the floor. get your socket ready on the handle and in reach. place both feet on the either side of the clutch with the nut facing up of course. Put even pressure on the pulley with your feet to relieve the tension of the spring against the 39mm nut. hold your feet down and remove the nut. then carefully and slowly release your feet.
Image

Image

Image

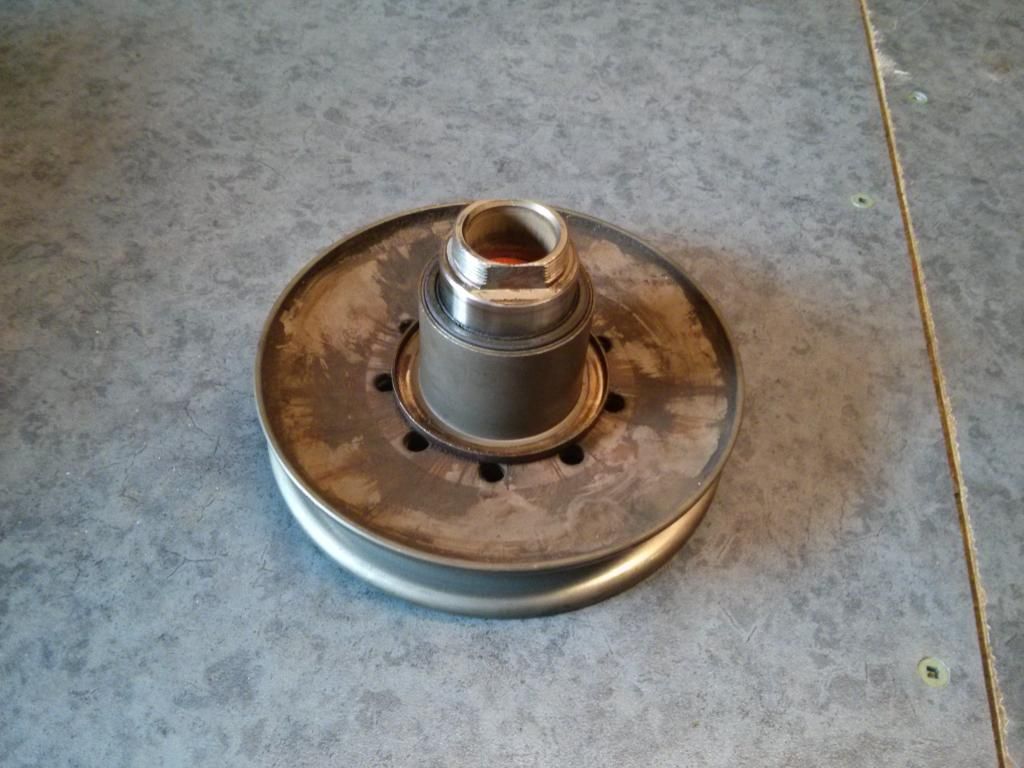
3. Now slide the spring off the pulley and head to the bench.
Image

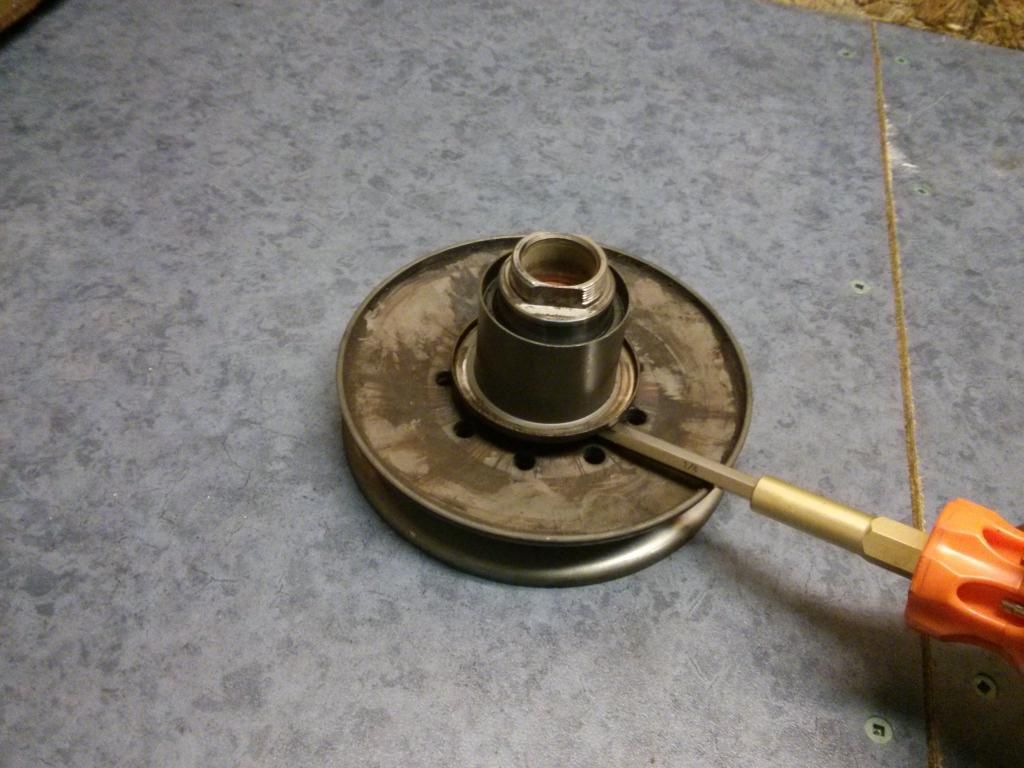
4. Slide a screwdriver under the flange and gently pry up the collar.
Image

Image

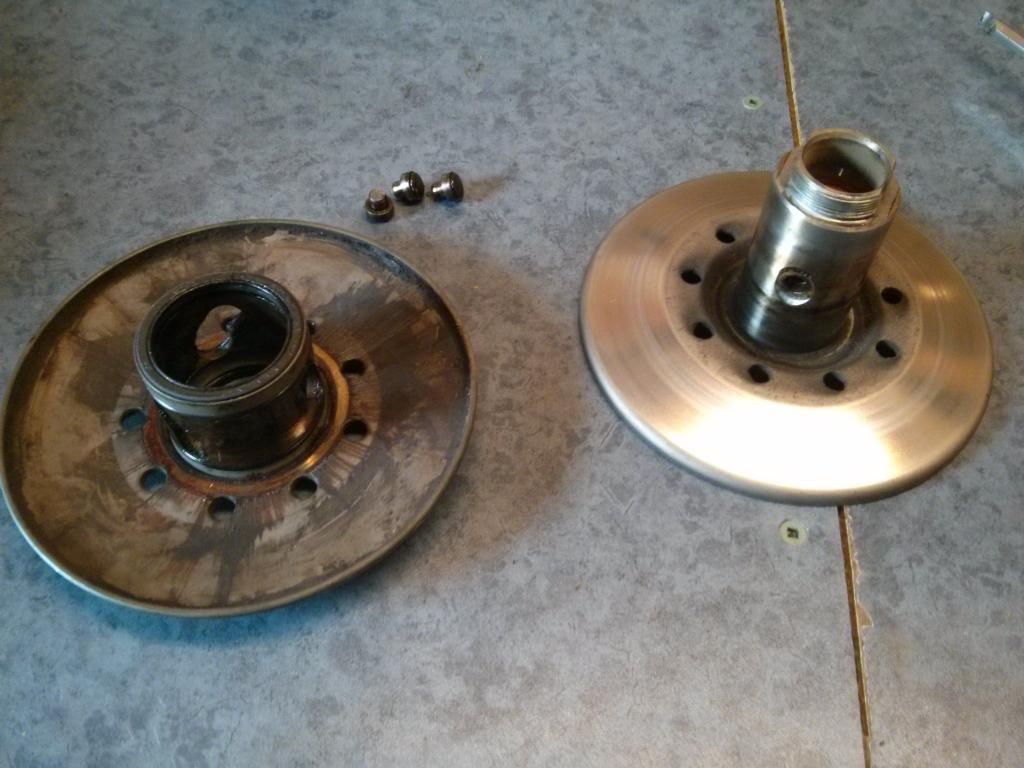
5. Remove the small rollers and lay them aside. They will need to be cleaned re-greased and re-installed after the other cleaning on the rest of the assembly.

6. Clean all of the inside sliding surfaces clean with a rag then with a rag soaked in something like carb cleaner or some brake clean.
Image

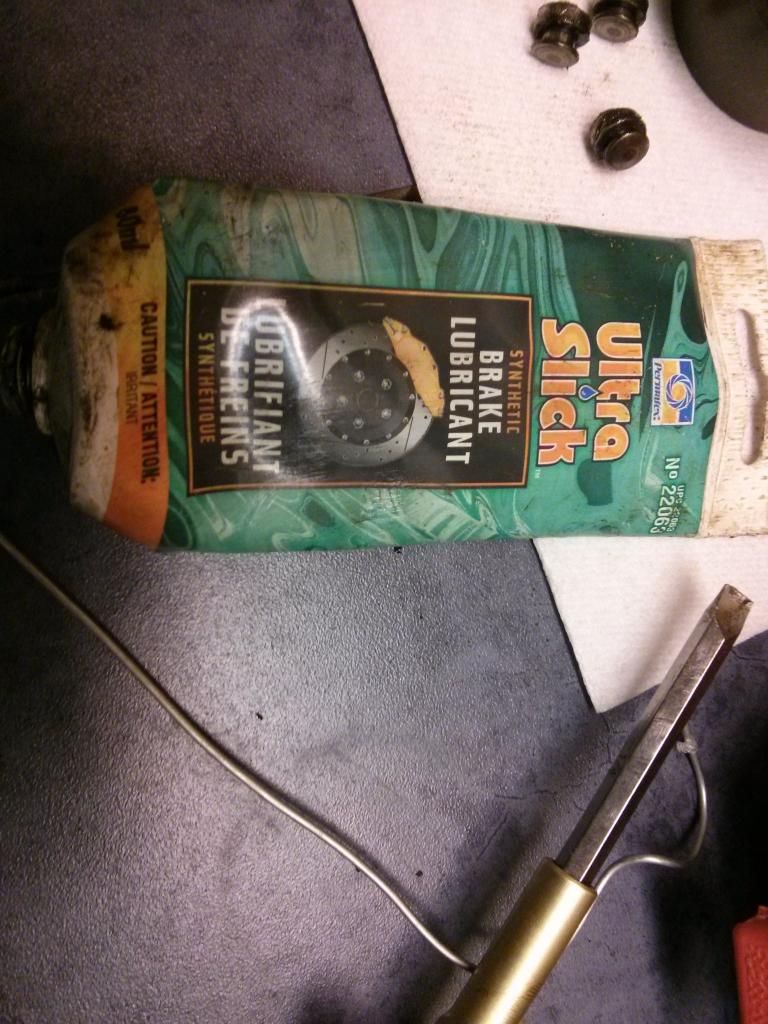
7. You need some grease that is tacky and won't melt too much with heat. I use synthetic brake lubricant it works very well for this kind of thing as its very much like the pins on automotive brake calipers.Image Now re-grease the inside of the outer plulley making sure the fill the little groove with grease and smear a little grease on the the two seals.

8. Put the two pulley halves back together and put the pins and or rollers thave been greased back in their little holes. Pack more grease in each roller slot. Image
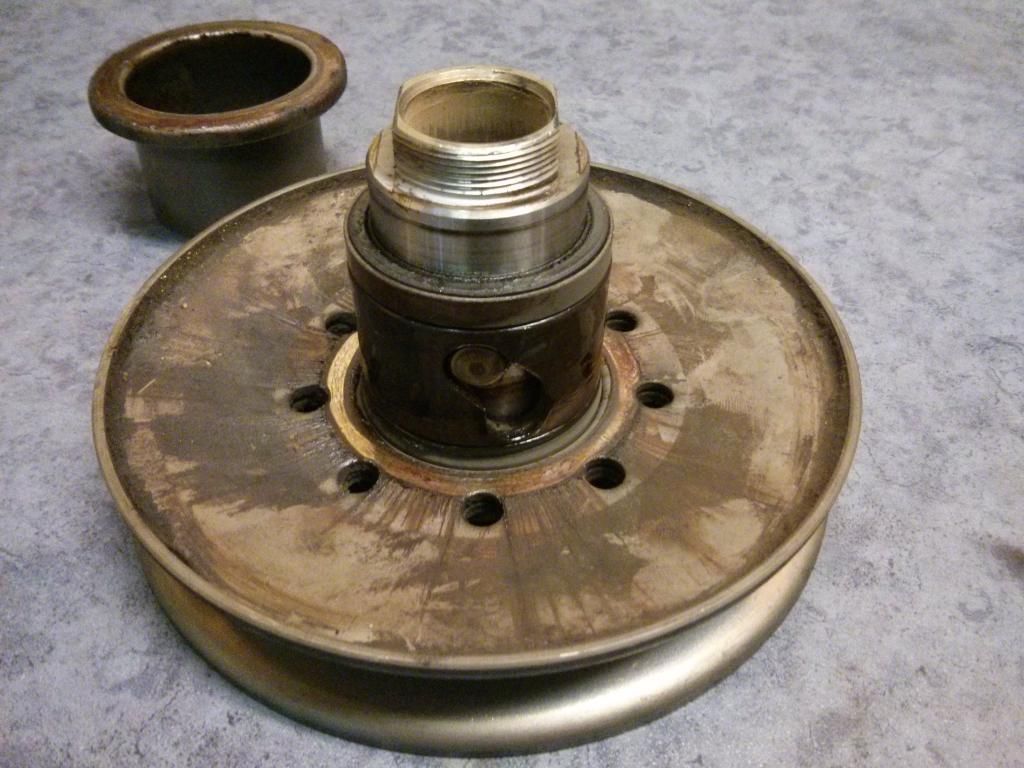
9. Reinstall the spring seat/collar Image

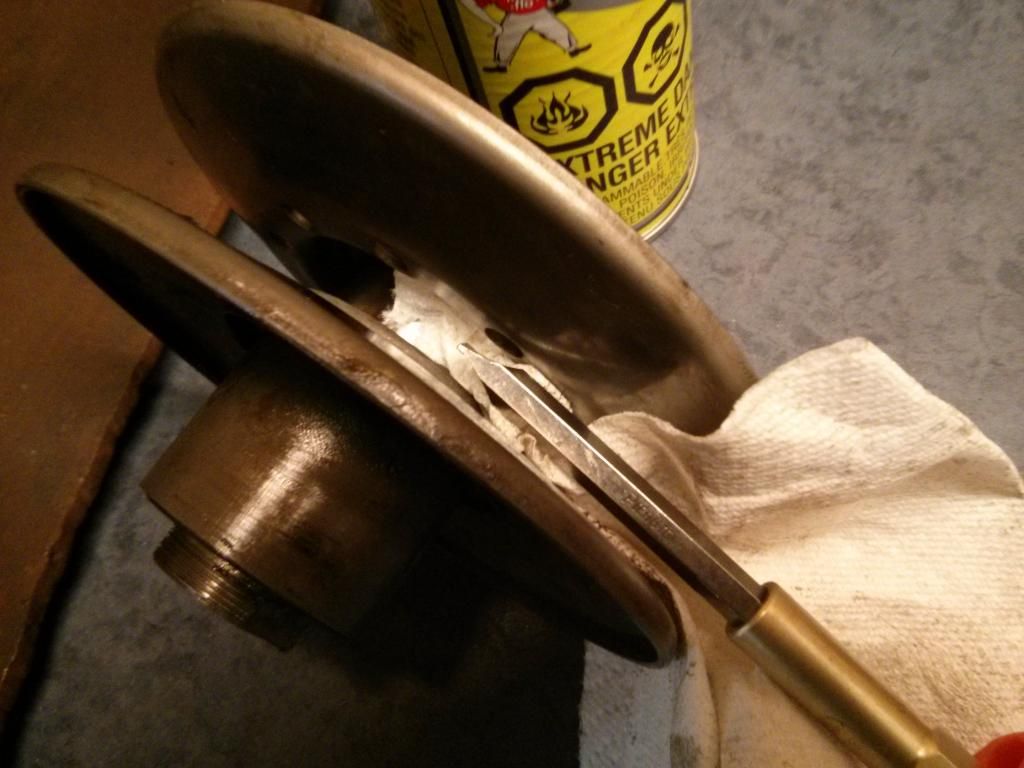
10. Pull the two pulley halves apart a bit and clean all of the surfaces that contact the belt with some carb cleaner or brake clean and a rag. Image
11. Now to reassemble. Put the spring back on and follow steps 1 and 2 but in reverse. Put the clutch over the spring and line up the hole. Push down with your feet to compress the spring. Now make sure to carefully thread the but by hand as its so very easy to cross thread the nut even by hand. Carefully tightent the but by hand with the socket wrench.

Now enjoy proper variation of the varaitor :-)
Dude! Ya Can't Fix Stupid!
84 Spree stock
84 Spree Dio AF18E MHR Cylinder Arrow Pipe 28mm OKO
80 Express, 47mm DR BBKit, Weak Ends Intake, Boyesen Dual stage reeds, 19mm Delorto carb, MLM pipe
79 Express
85 Aero 80 stock
84 elite 125 stock
User avatar
darat
Veteran OG
Veteran OG
Posts: 3133
Joined: Fri Jul 23, 2004 10:24 am
Location: Fraser Michigan
Contact:

Re: Driven pulley service step by step

Post by darat »

Good stuff !! Thanks
MICHIGAN MOPED MAFIA Co Founder VET OG. 95 YAMAHA JOG 70CC
User avatar
birdman
Spree
Spree
Posts: 271
Joined: Wed Aug 20, 2014 2:18 am
Location: East Bay, CA

Re: Driven pulley service step by step

Post by birdman »

A lot of people overlook this, like I did before..
92 Yamaha Jog CY50
98 Yamaha Zuma
00 Honda Elite 50SR
82 Honda MB5
90 Honda NS50F
14 Yamaha FZ-09
16 Kawasaki Versys 650
User avatar
LMH
Board Supporter
Board Supporter
Posts: 2096
Joined: Wed Apr 11, 2012 8:00 pm
Location: usa

Re: Driven pulley service step by step

Post by LMH »

Great work pat!
mousewheels
Veteran OG
Veteran OG
Posts: 3639
Joined: Tue May 22, 2007 8:10 pm
Location: North of Seattle, WA

Re: Driven pulley service step by step

Post by mousewheels »

Thanks patthesoundguy :thumbwink:
Will shortly add you contribution to the 'wiki topic' related to this subject.
User avatar
patthesoundguy
Moderator
Moderator
Posts: 3159
Joined: Mon Mar 29, 2010 11:38 am
Location: Nova Scotia, Canada
Contact:

Re: Driven pulley service step by step

Post by patthesoundguy »

Thanks all. I had been sitting on that for quite a while. I had it almoat all done in my nexus 7 notepad with the photo bucket links and everything. I finally got off my rear and finished it last night :-)
Dude! Ya Can't Fix Stupid!
84 Spree stock
84 Spree Dio AF18E MHR Cylinder Arrow Pipe 28mm OKO
80 Express, 47mm DR BBKit, Weak Ends Intake, Boyesen Dual stage reeds, 19mm Delorto carb, MLM pipe
79 Express
85 Aero 80 stock
84 elite 125 stock
mousewheels
Veteran OG
Veteran OG
Posts: 3639
Joined: Tue May 22, 2007 8:10 pm
Location: North of Seattle, WA

Re: Driven pulley service step by step

Post by mousewheels »

Post Reply